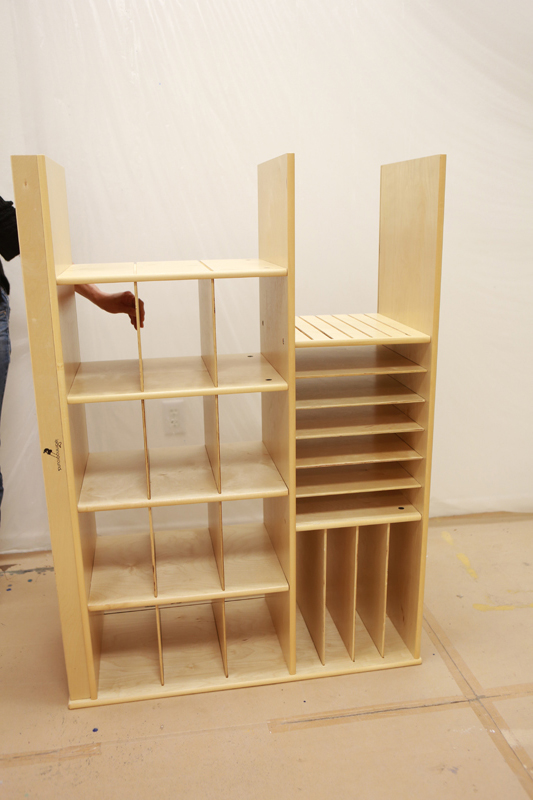
Installation Guide
Shelf & Cubby Item#: 10051 (click to see large pictures)
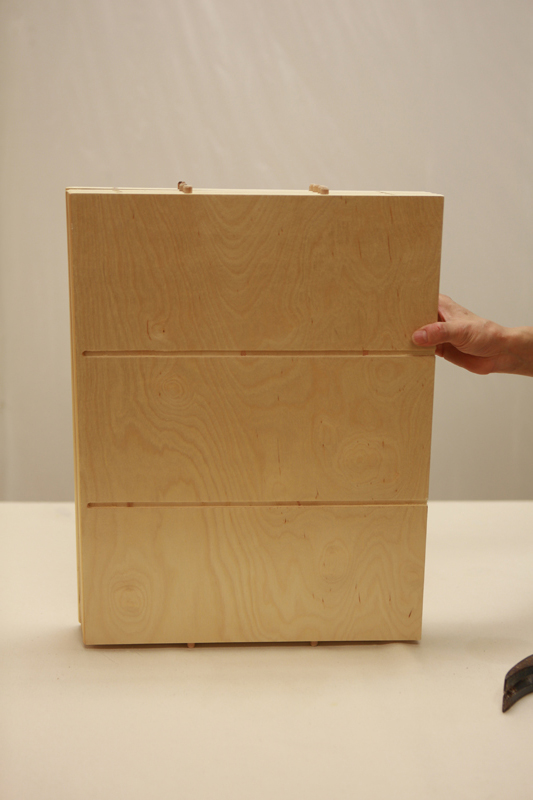
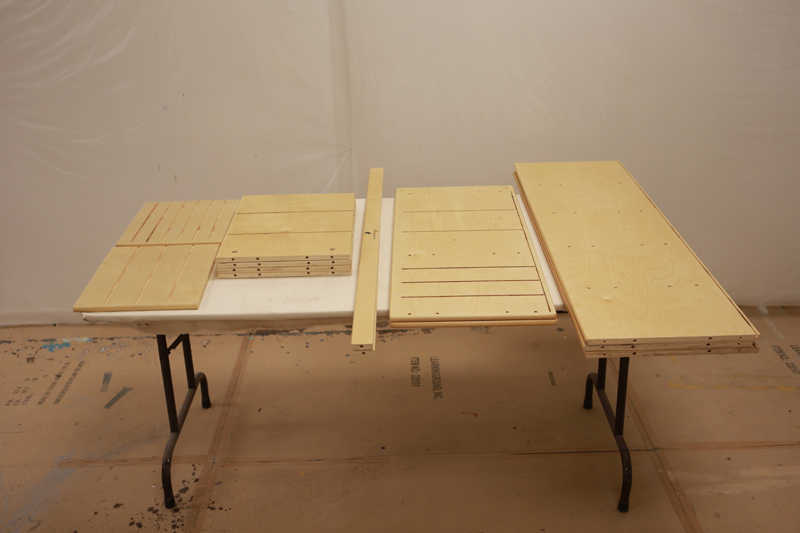 Check all the boards: (from left) 2 top vertical shelf boards, 4 middle vertical shelf boards, 2 toe kick boards, 2 side boards, 3 horizontal boards |

(from left) 10 bottom shelf boards, 5 top vertical shelf boards, 9 top horizontal shelf boards |
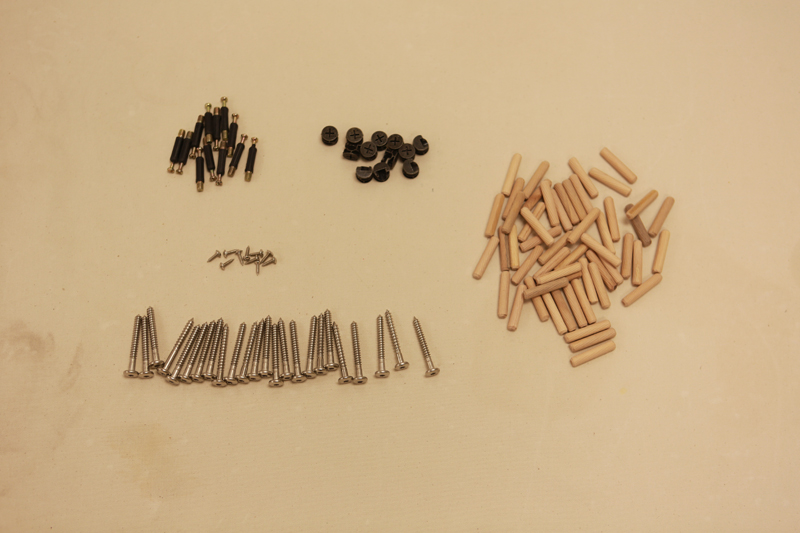 Parts: cam lock pin, cam lock, wood dowels, small screws, 2" screws |
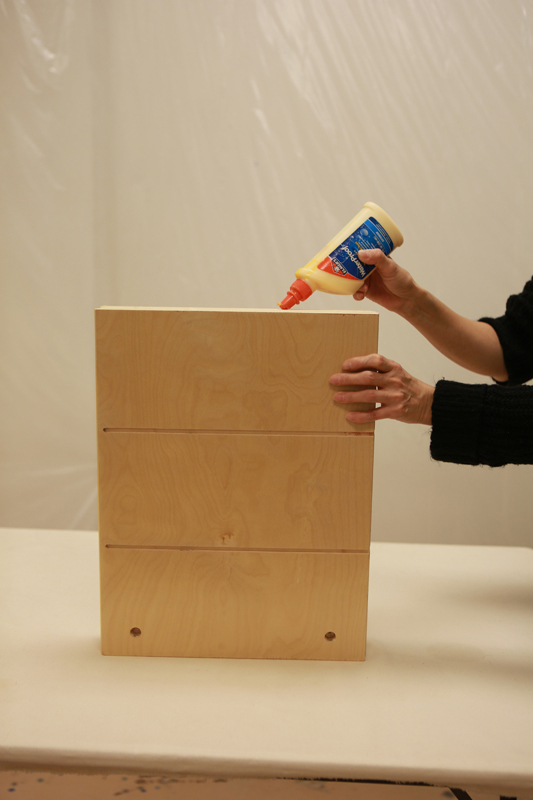 drop wood glue in the holes for wood dowels on the end of middle vertical shelf boards |
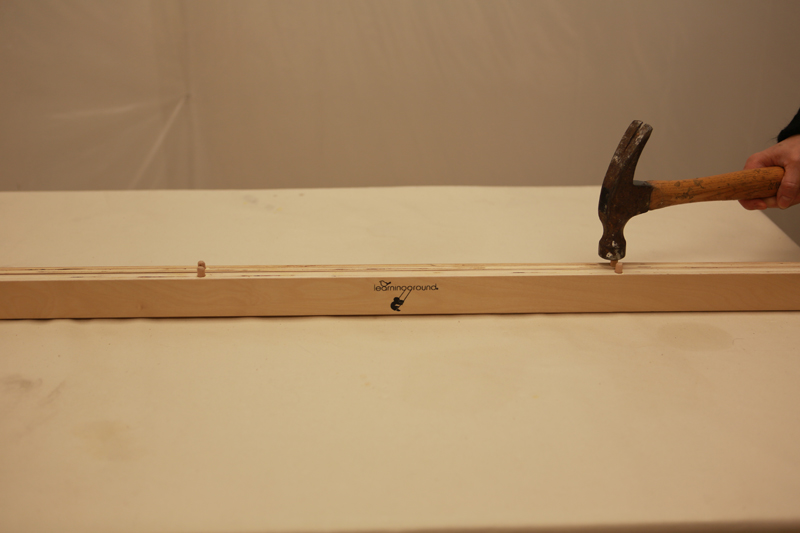
 Warning: Make sure to hammer the wood dowels all the way into the vertical boards, (leaving about 3/8” out), to avoid damaging the horizontal shelf boards. |
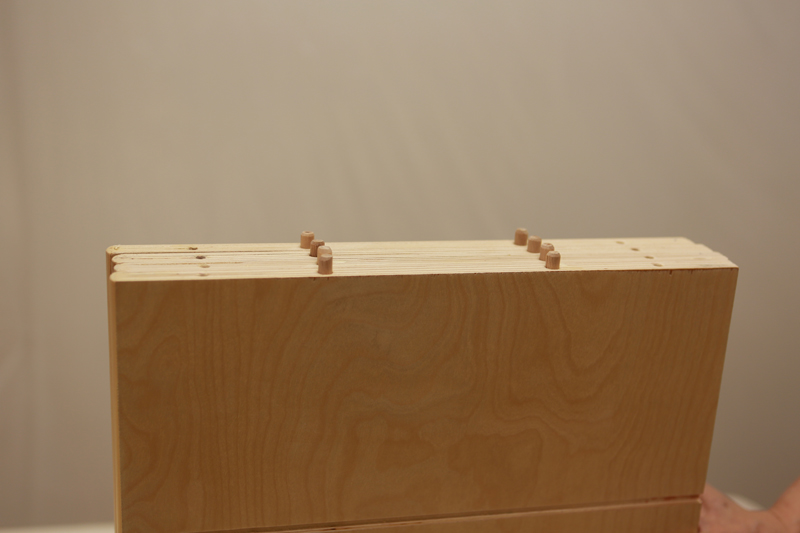 make sure the wood dowels are all the way in the holes |
 do the same on the other side of the boards |
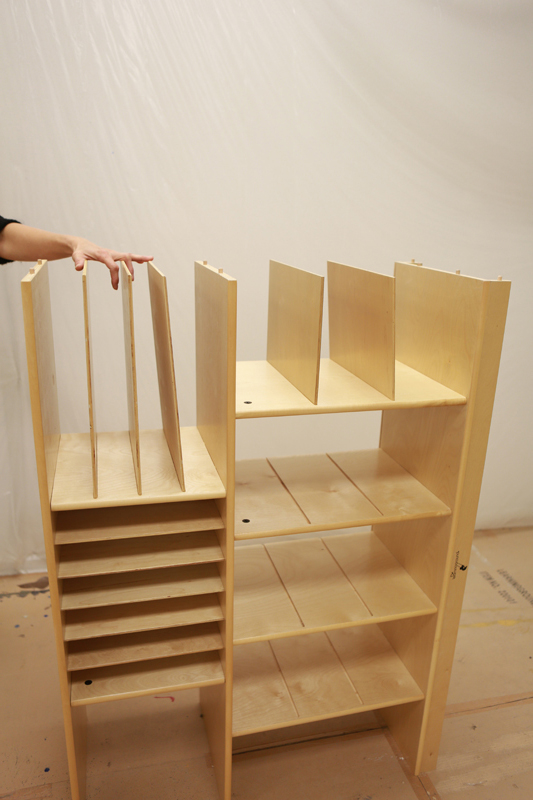
 glue and hammer wood dowels on top vertical shelf boards |
 pay attention to the number of slots on the two different top vertical shelf boards |
 put glue and wood dowels on the toe kick boards |
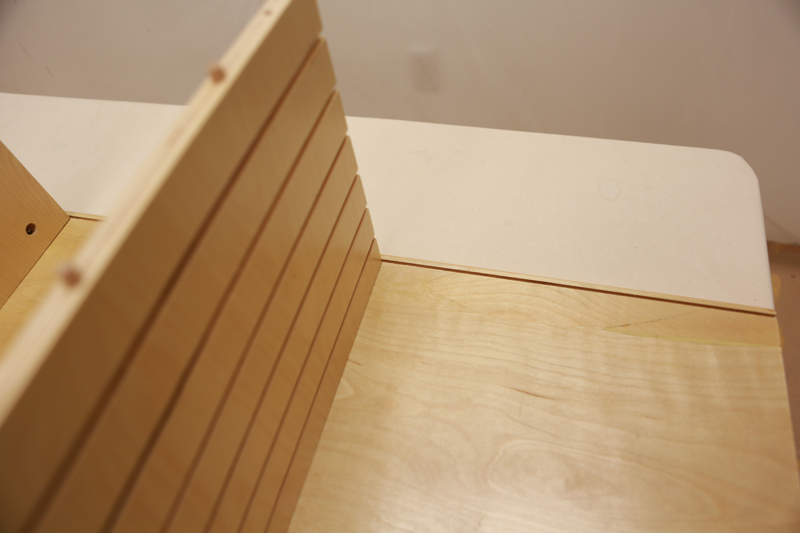
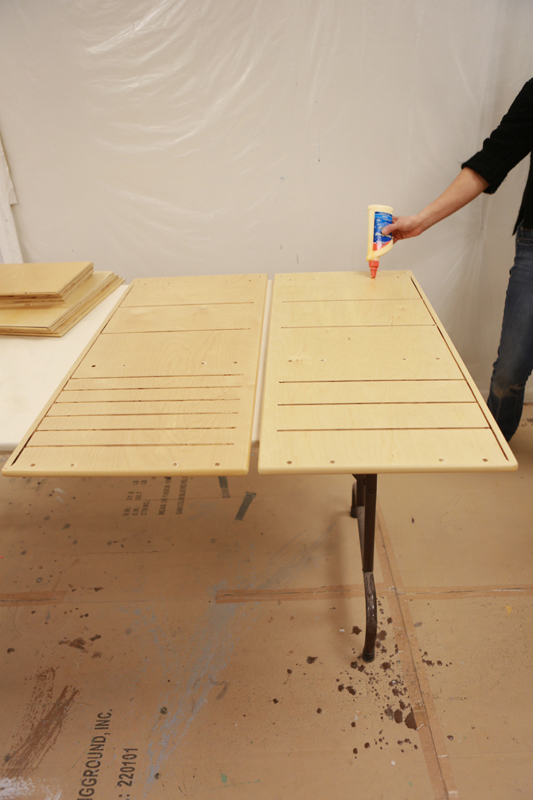
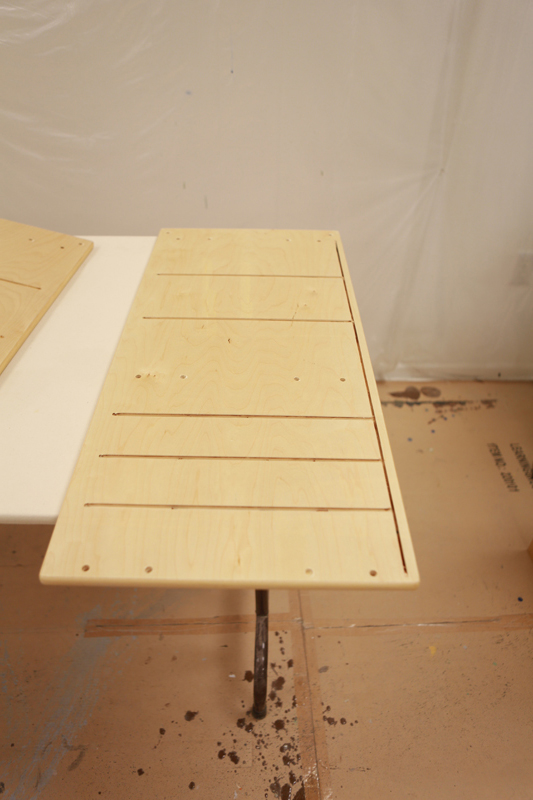
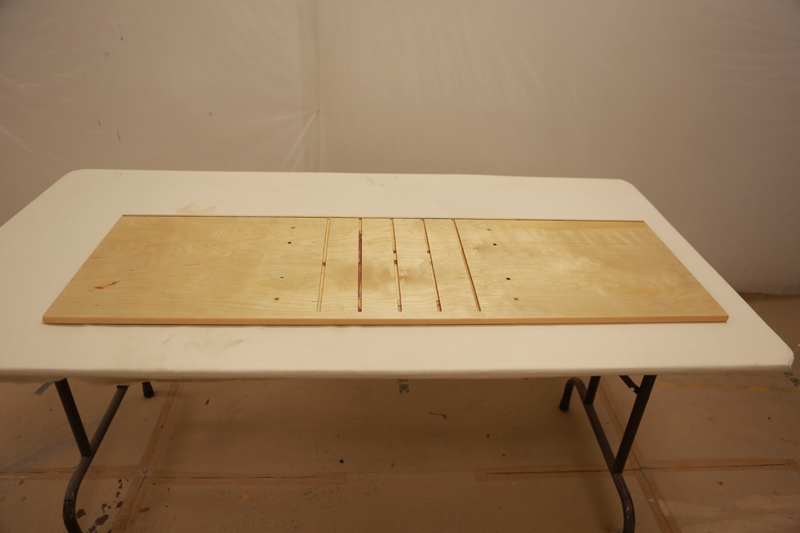 lay the top horizontal shelf board on a table of solid surface, with the slots side up. make sure the slot for the back board is in the back. Warning: never hammer wood dowels directly on horizontal shelf board, to avoid damaging the board from other side. |
 the top horizontal shelf board is the one with no holes on one side |
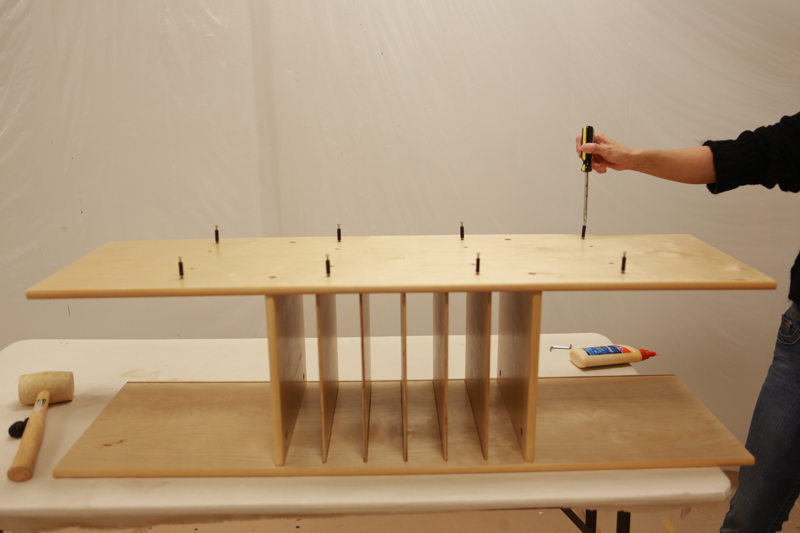
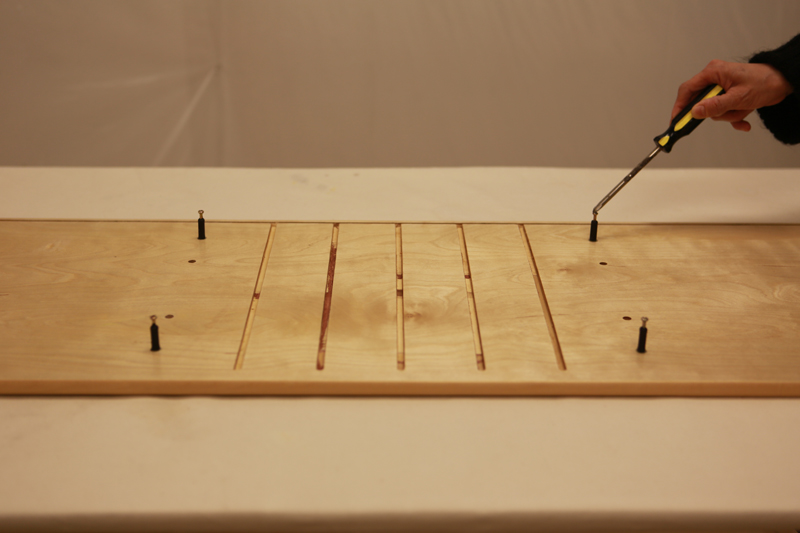 install pins with screw driver |
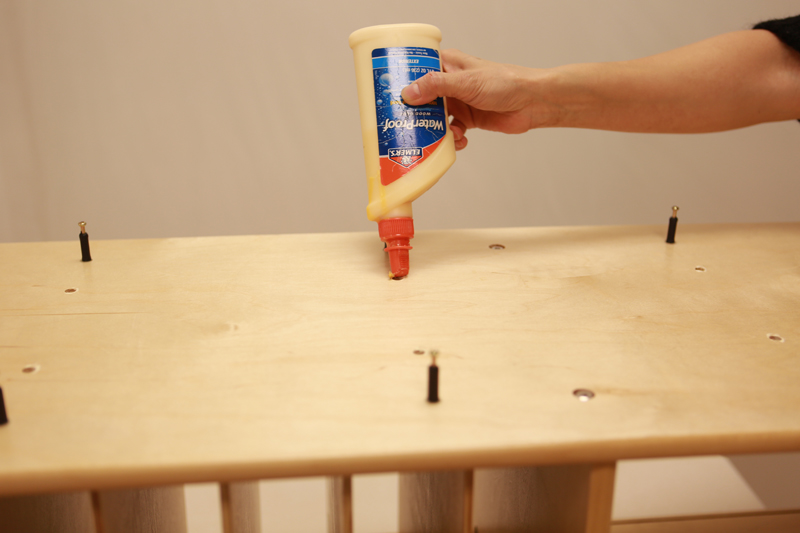
 put the glue in the middle holes |
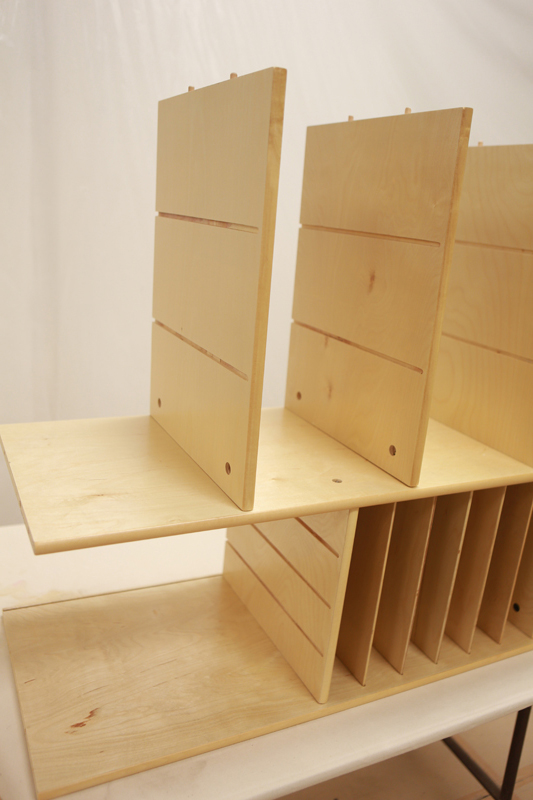
 lay the top vertical shelf boards on the table |
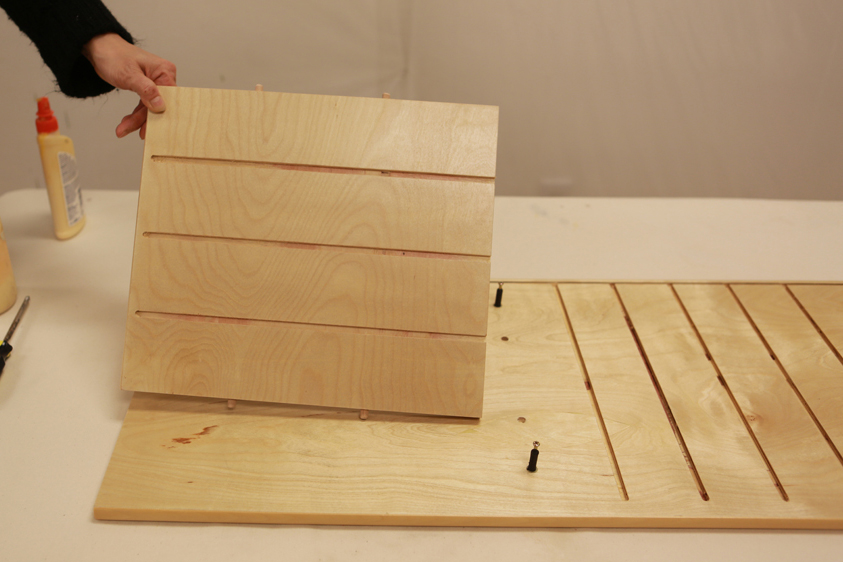 make sure the 3 slots top vertical shelf board is on the left |
 install the boards on the pins gently by hand |
 make sure the 6 slots top vertical shelf board is on the right |
 install the boards on the pins |
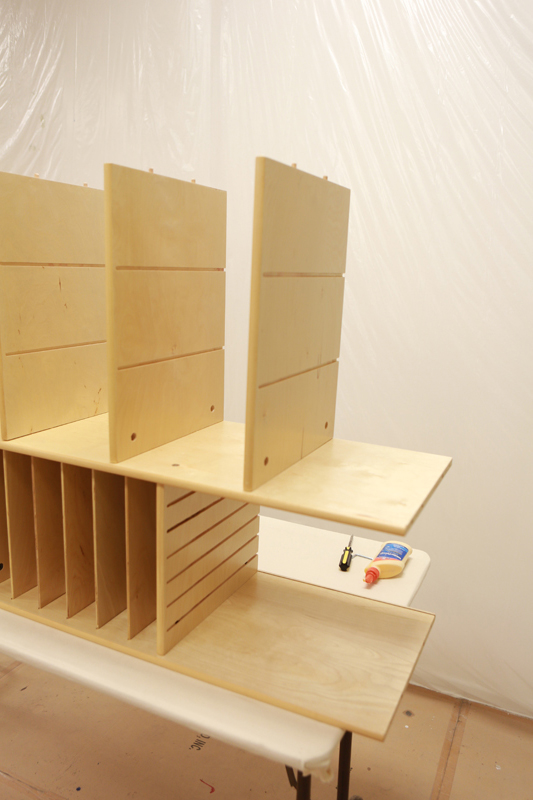
 make sure the rough side is lined up with the slot at the back |
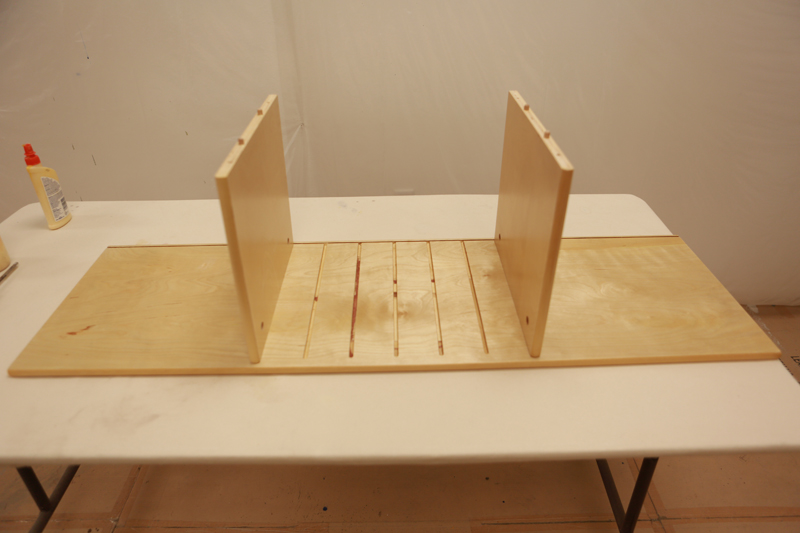 push the boards in with hand or mallet |
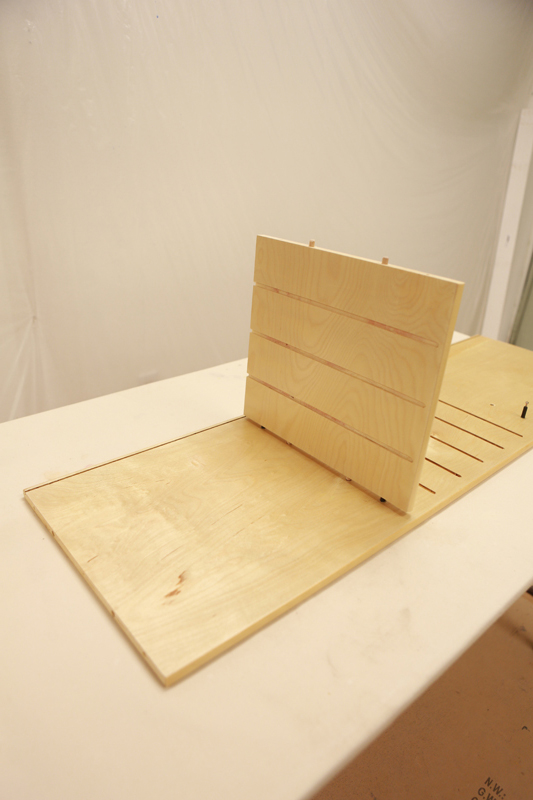
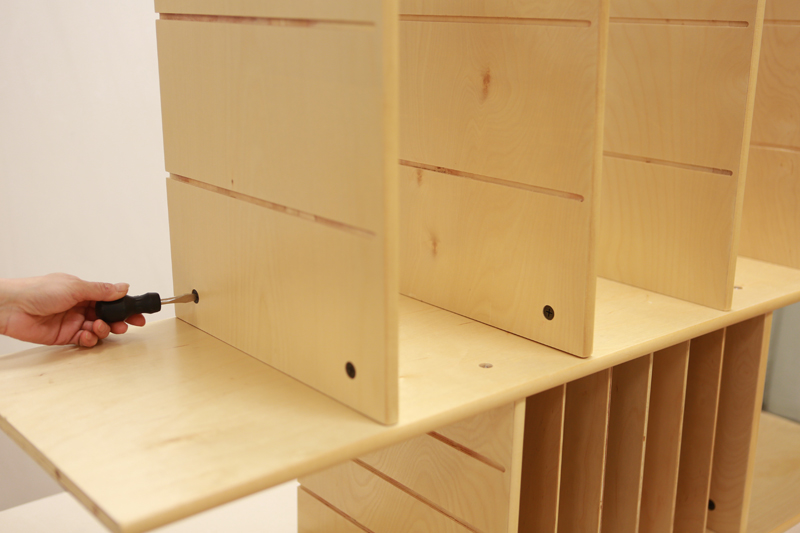
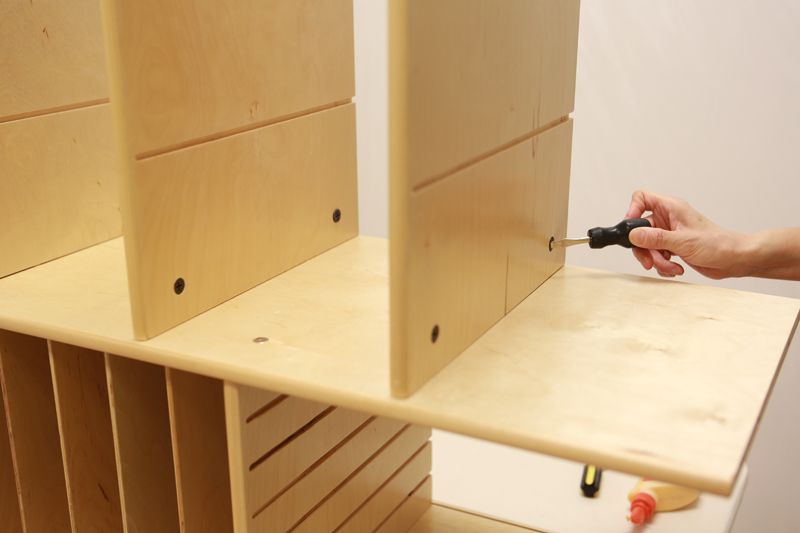
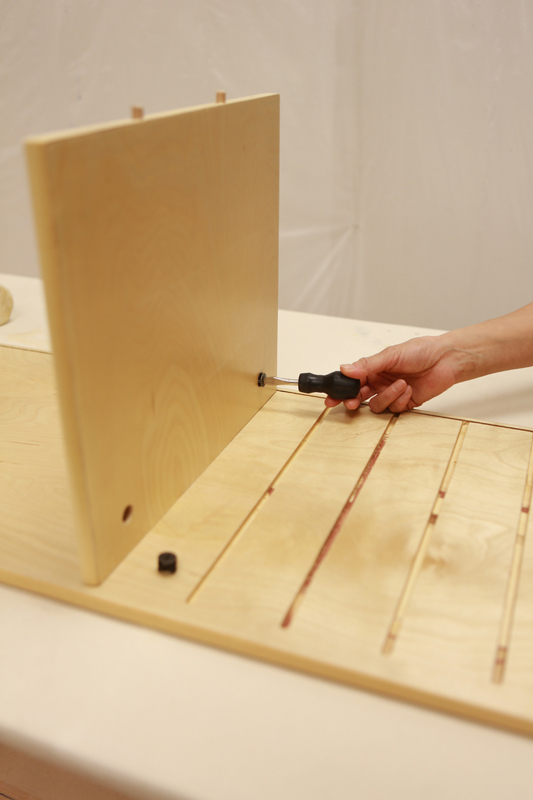 install cam locks |
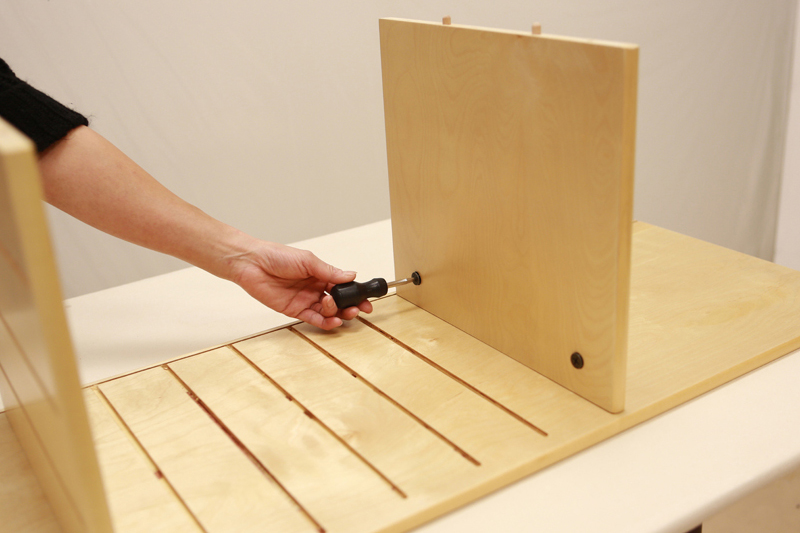 secure cam locks with a screwdriver |
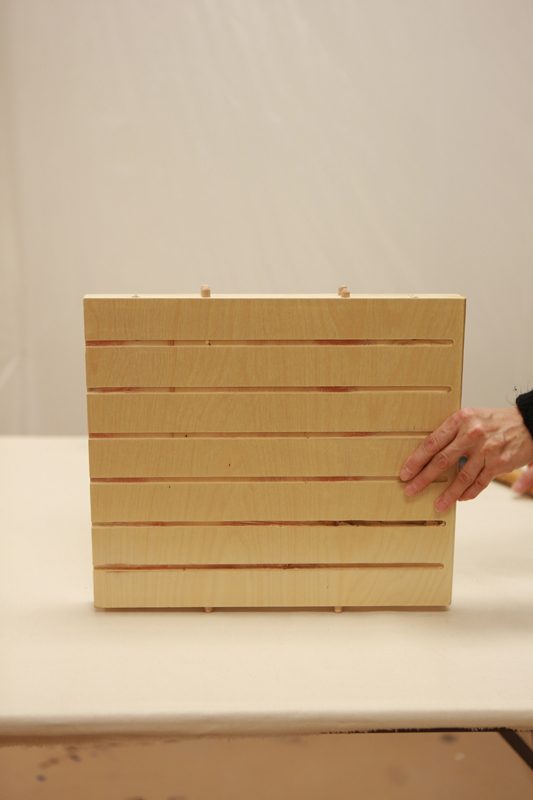
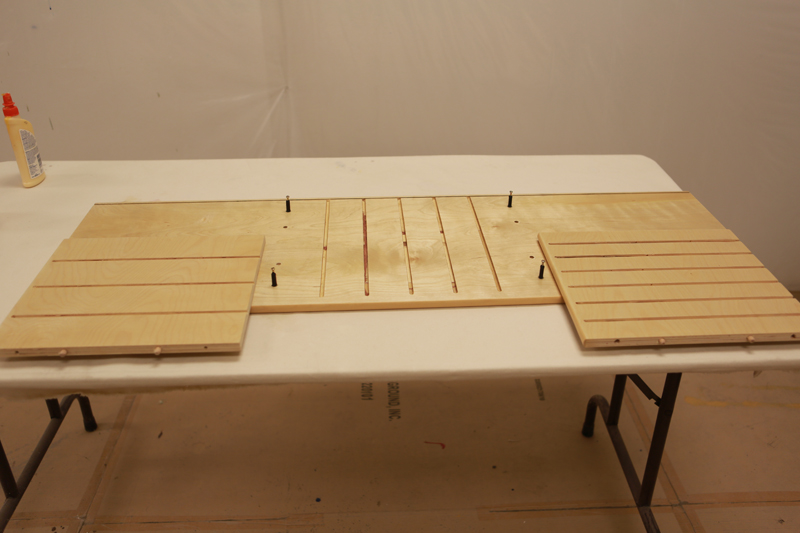
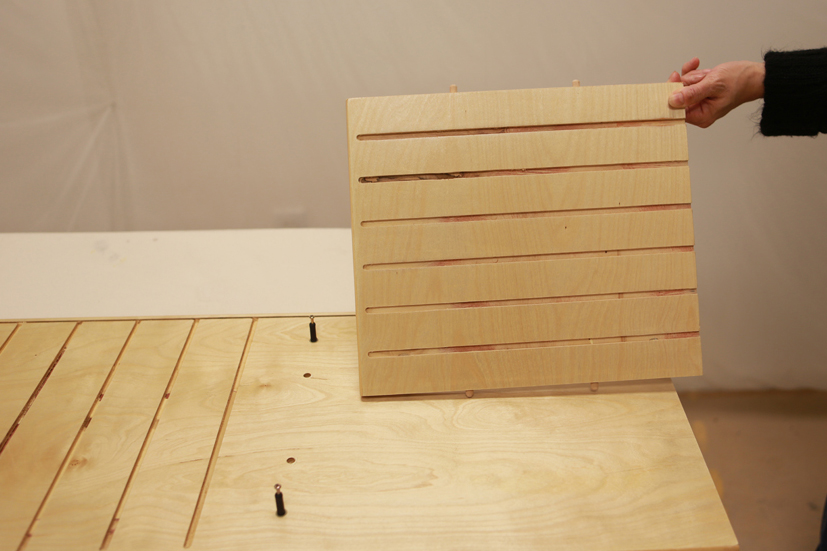
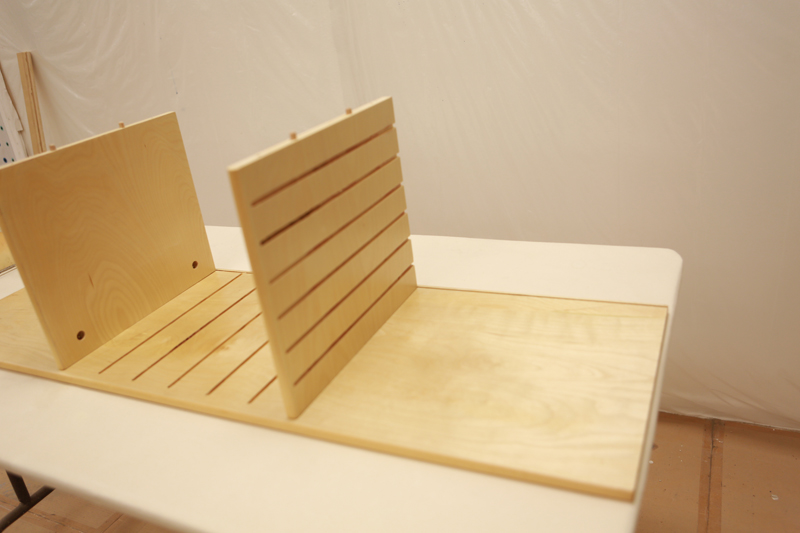
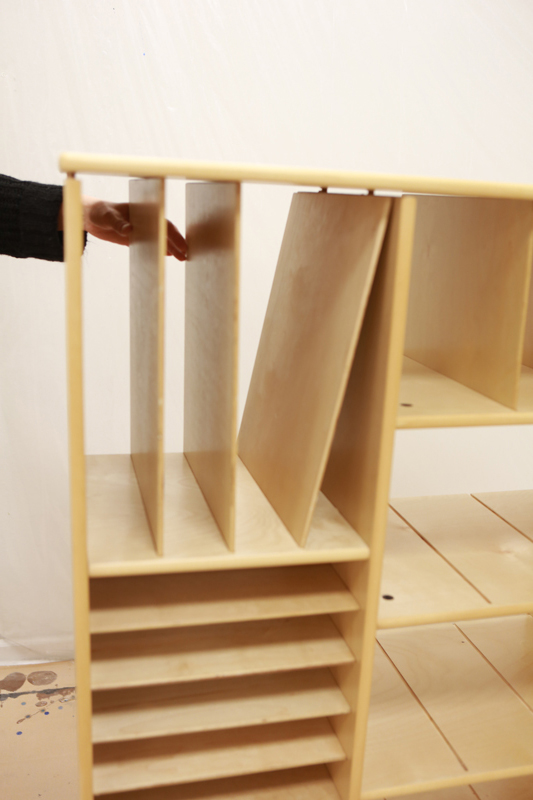
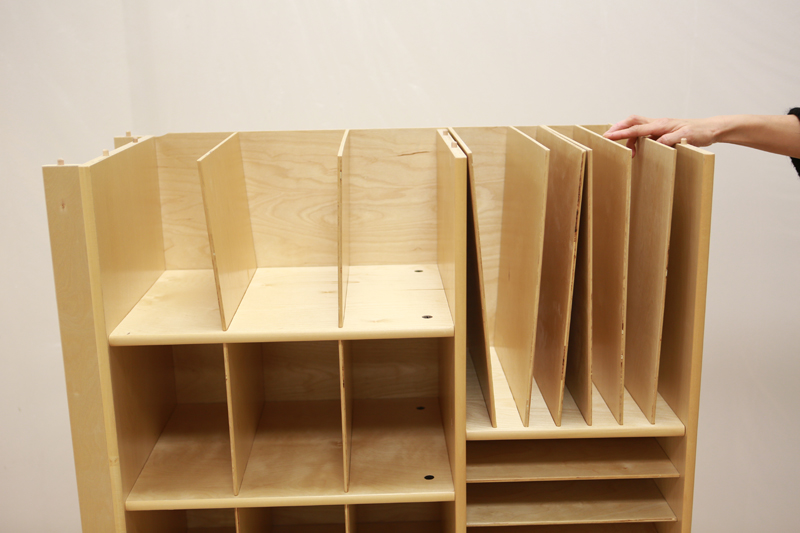
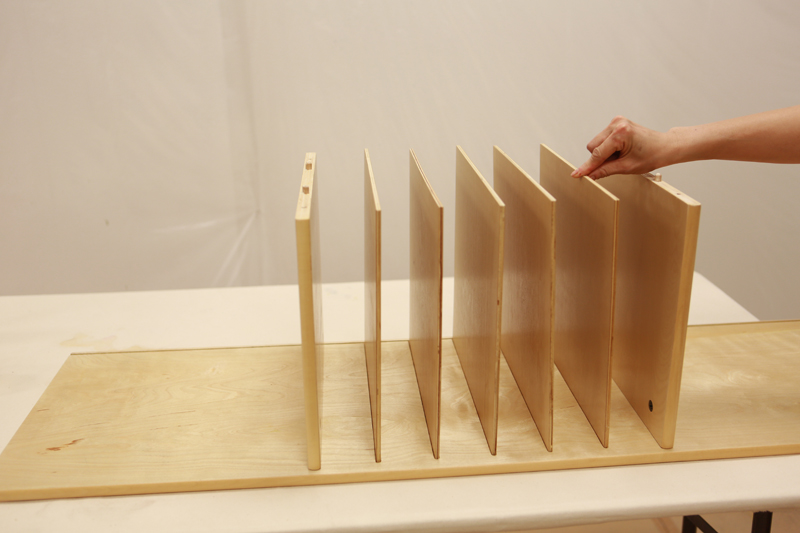 insert the top vertical shelf boards in the slots |
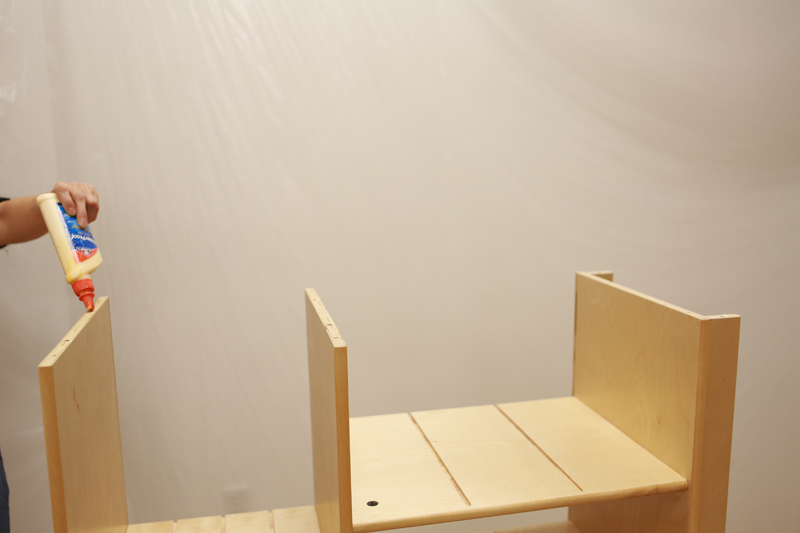
 put glue in the holes of the middle horizontal board (rough edge on the backside) |
 turn the board over and lay on top of the top vertical shelf boards |
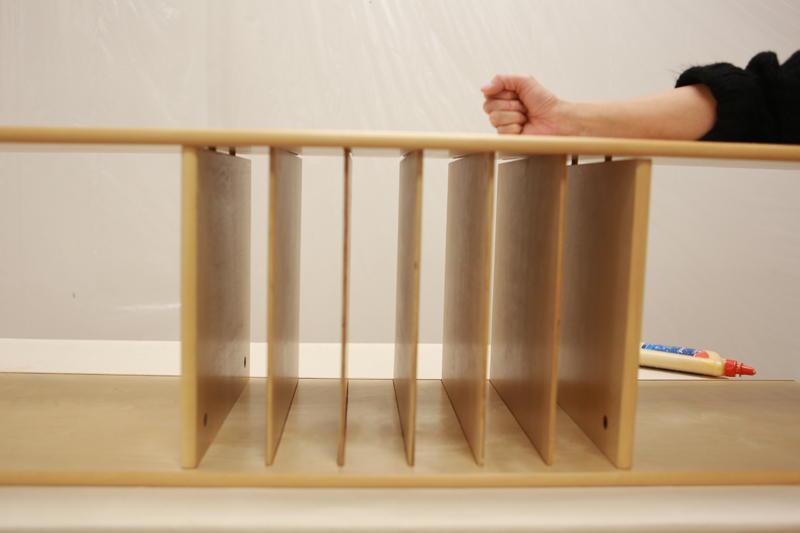 pound the board in gently with hand or mallet |
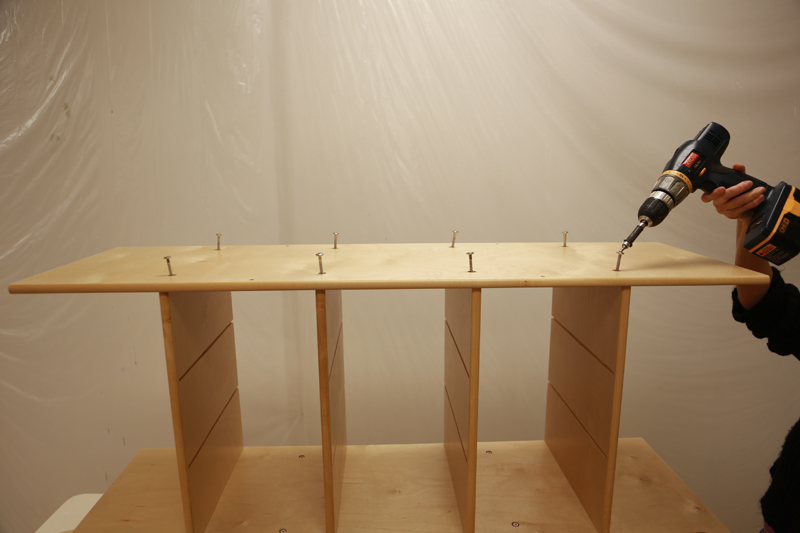
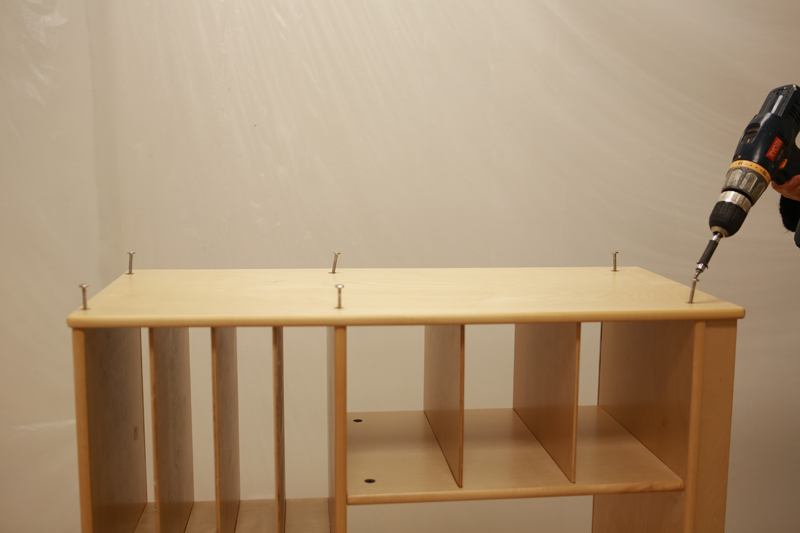
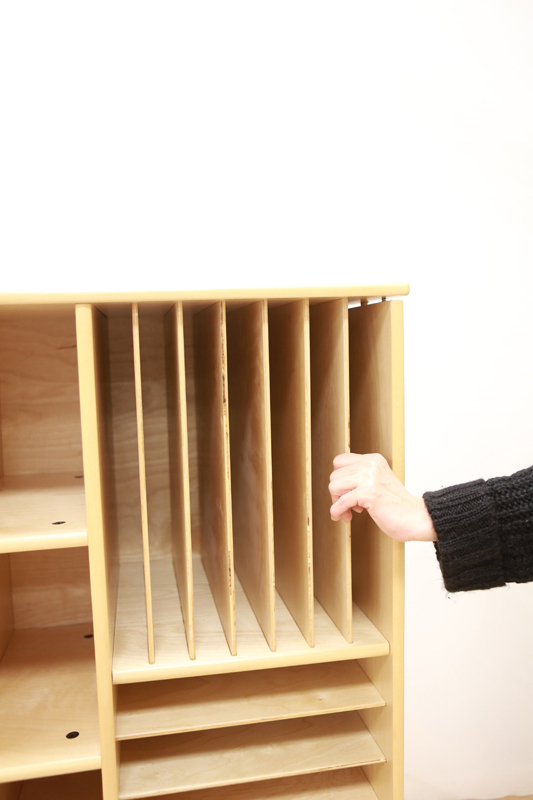
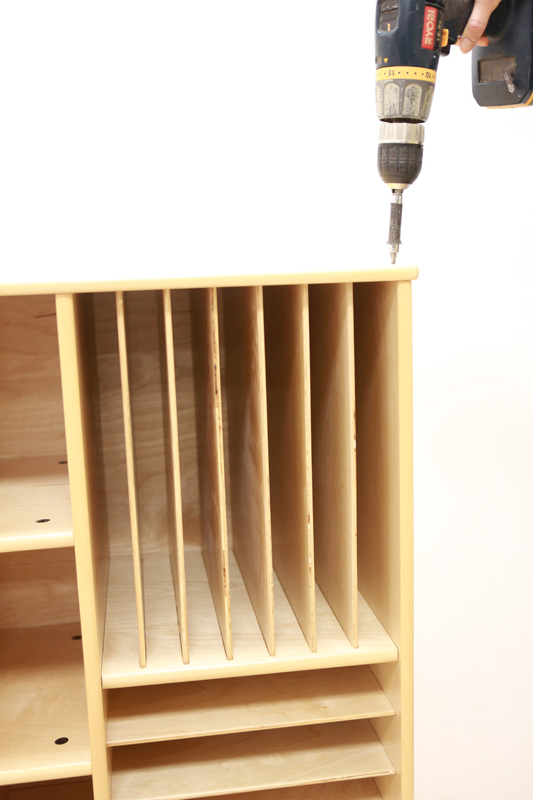
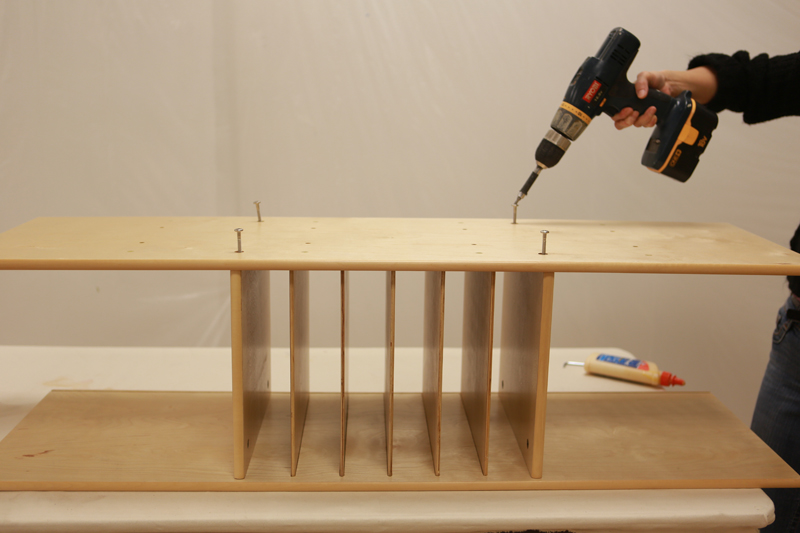 fasten 2" screws with a power drill |
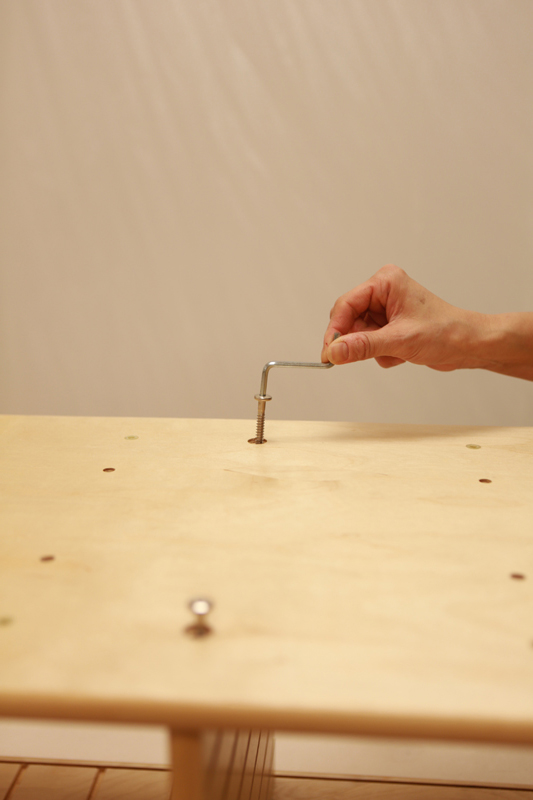 or a wrench |
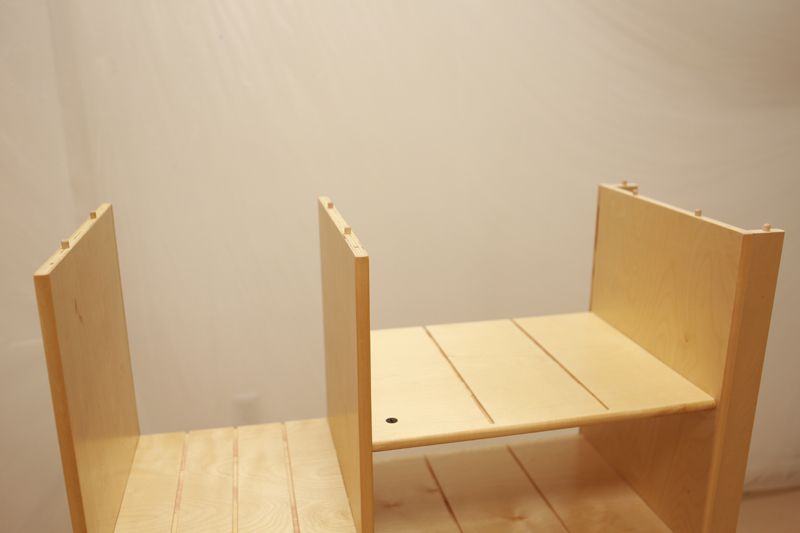
 install pins |
 glue the boles in the middle rows |
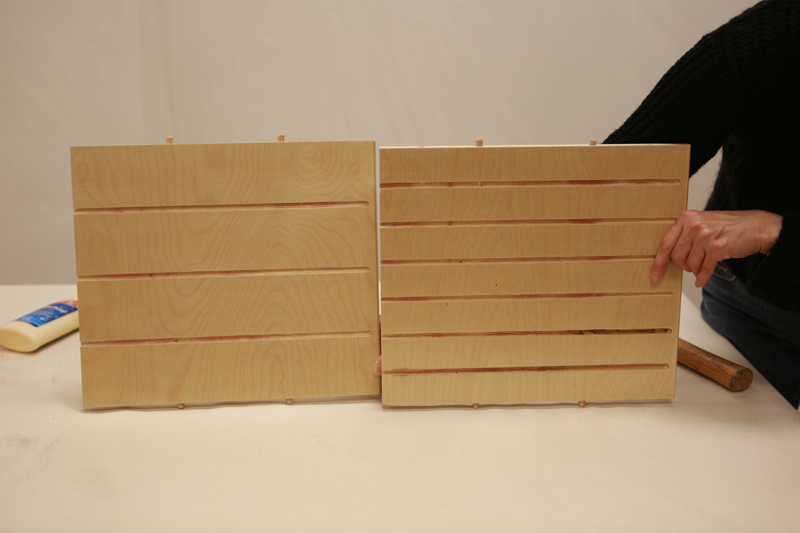
 install the vertical middle shelf boards, make sure the smooth size is facing outside |
 secure the boards with cam locks |
 same on the other side |
 fasten the boards with cam locks |
|
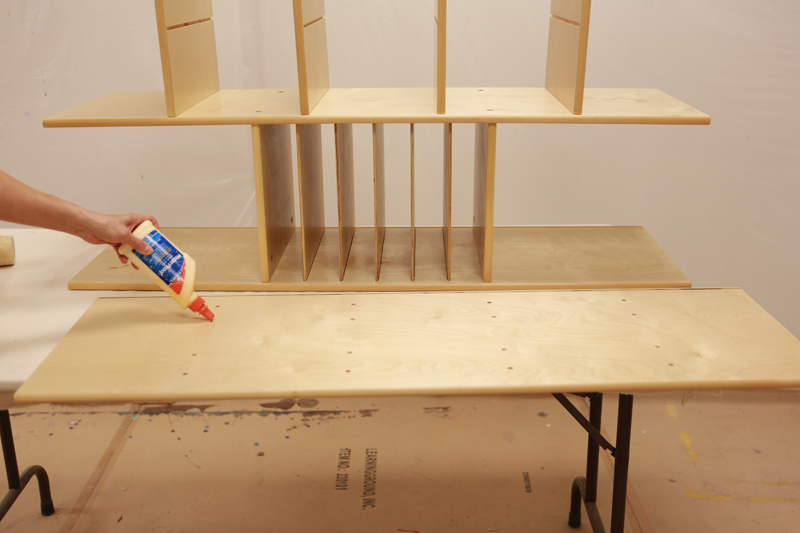 glue the holes in the middle rows of the bottom horizontal boards |
 install the board on top of the vertical middle shelf boards |
 fasten the board with 2" screws |
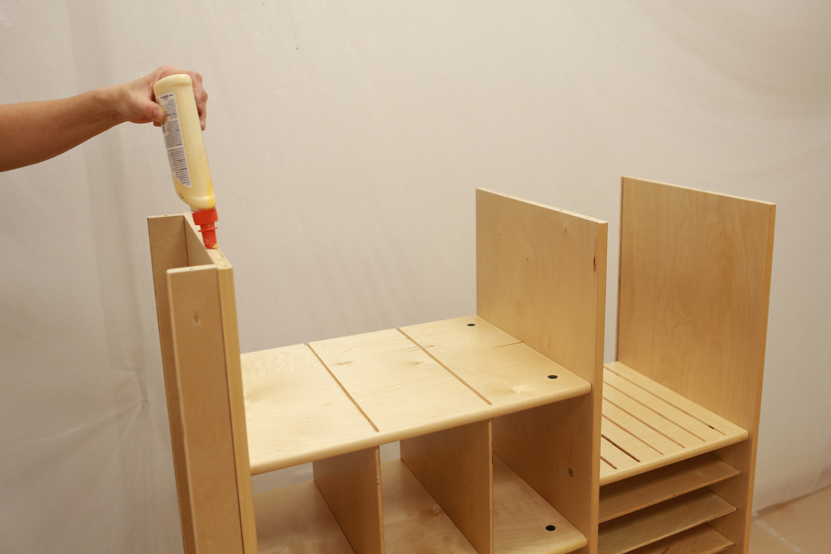
 put glue in the holes on the boards |
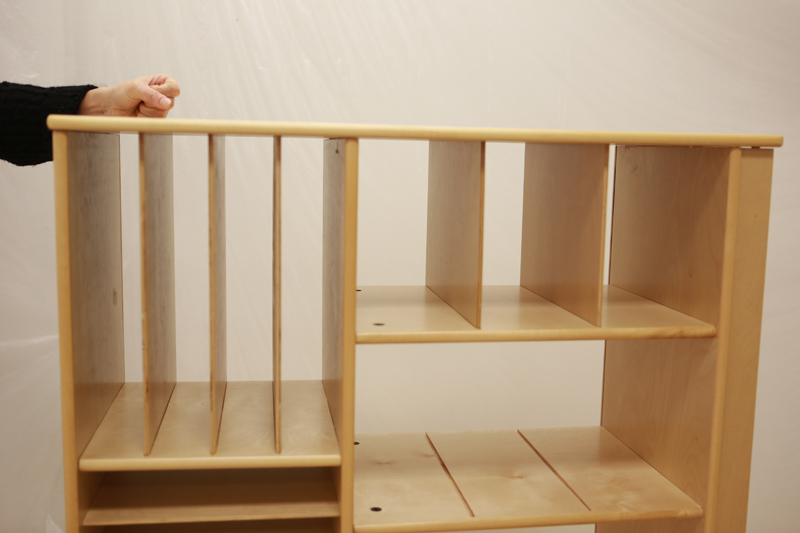
 install the toe kick boards and make sure the logo is in front of the furniture |
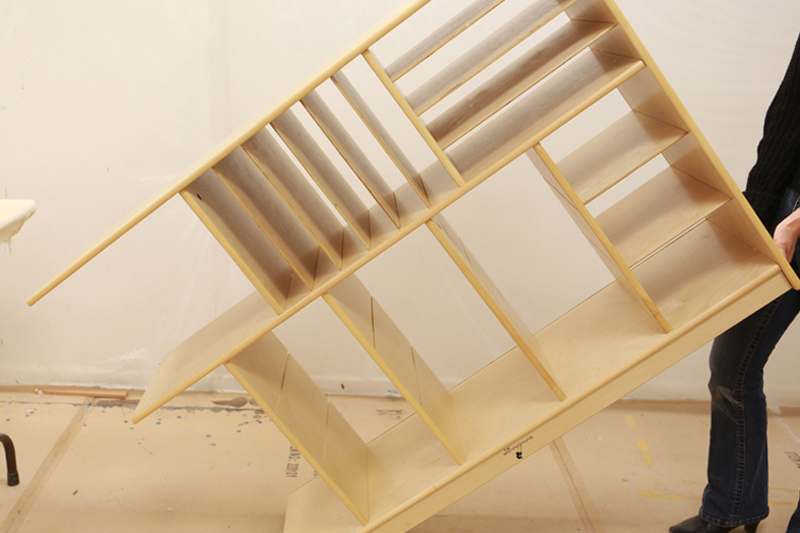
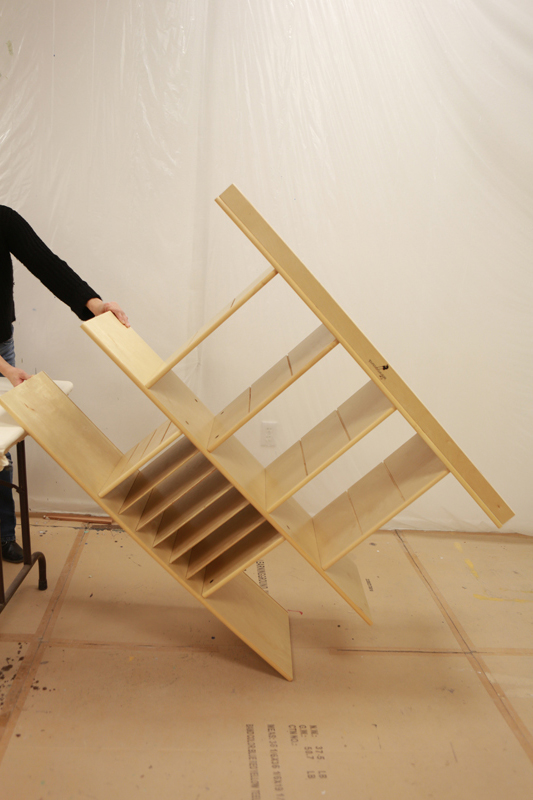 slide the installed furniture on the floor slowly |
 turn the furniture side way |
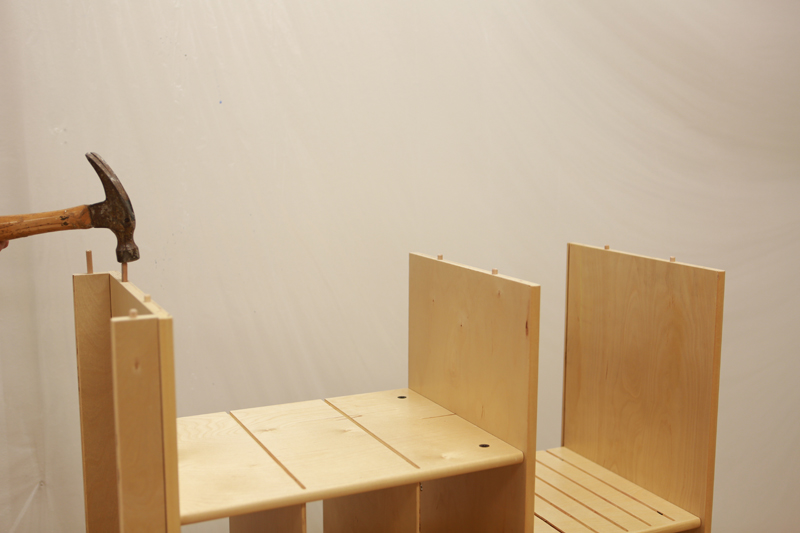
 glue the holes for wood dowels |
 hammer the wood dowels all the way in |
|
insert the top and bottom shelf boards |
 make sure the smooth side is facing out |
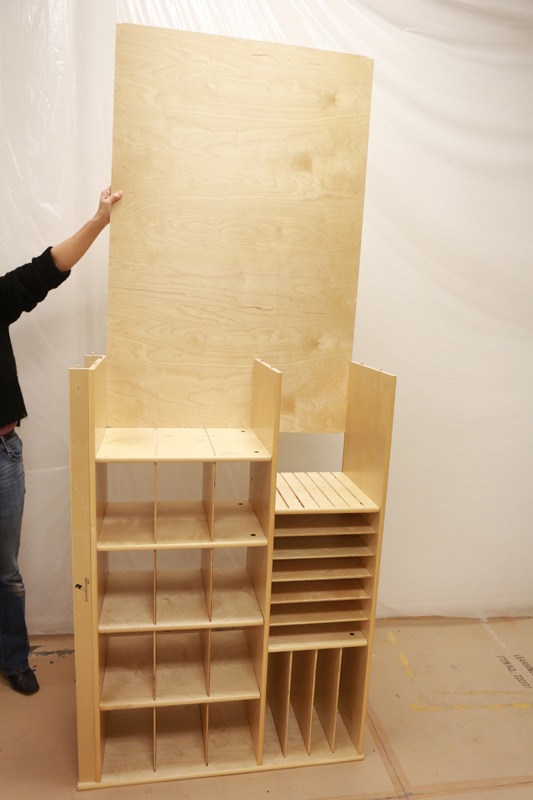
 put the glue in the holes on both side boards |
 choose the left side board |
lay on top of the furniture |
 line up with the shelves and wood dowels |
 pound the board in gently with hand or mallet |
 fasten the board with 2" screws |
 rotate the furniture to the other side |
 rotate.. |
 rotate.. |
 until the other side is up |
install bottom shelf boards |
 glue the holes for wood dowels |
 hammer the dowels in |
 install the back board |
make sure the holes on the back board line up with the front shelf boards (no holes showing) |
 push the back board all the way in |
 insert the bottom and top shelf boards |
 install the right side board |
fasten with 2" screws |
 if the shelve is not lined up, drive the screws in loosely |
 line up the shelf boards |
 tight up the screws |
|
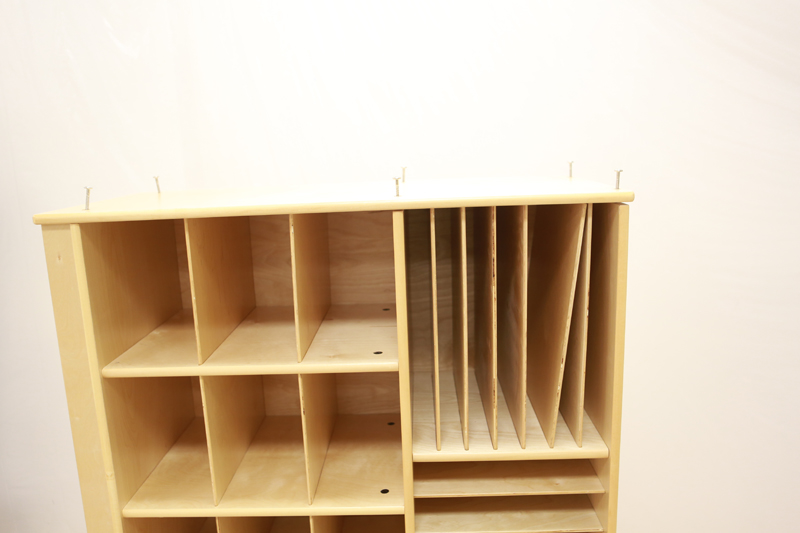
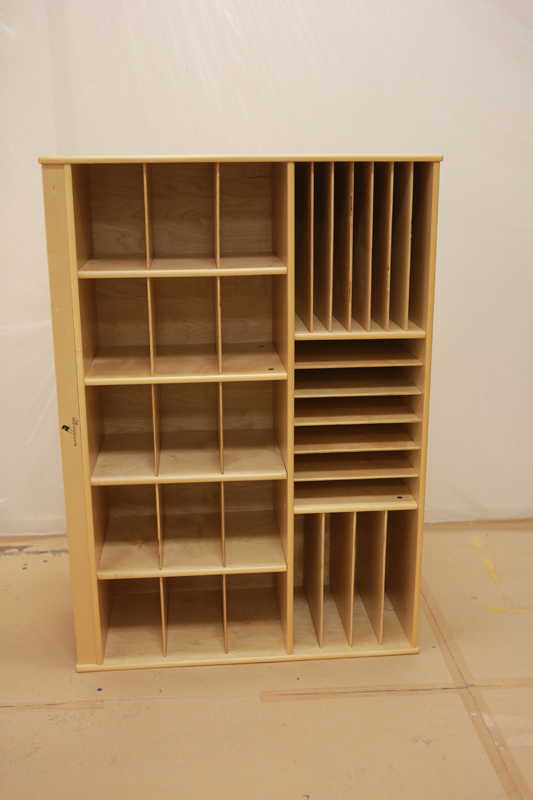
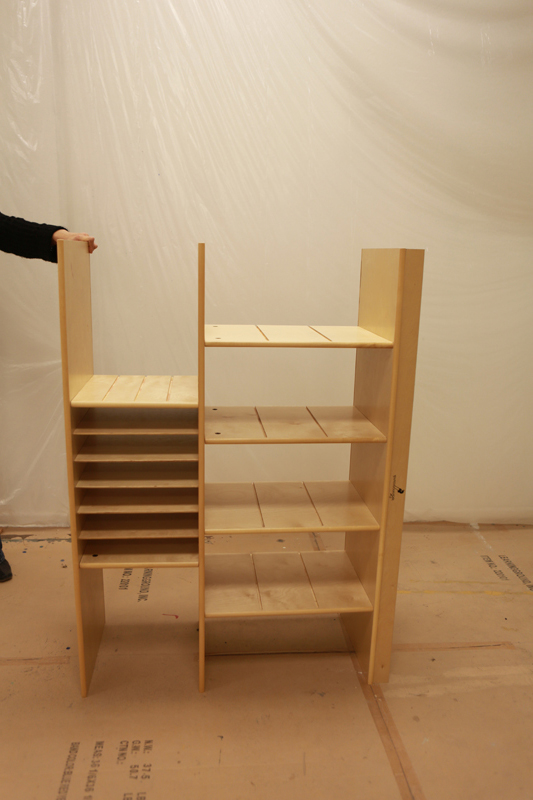
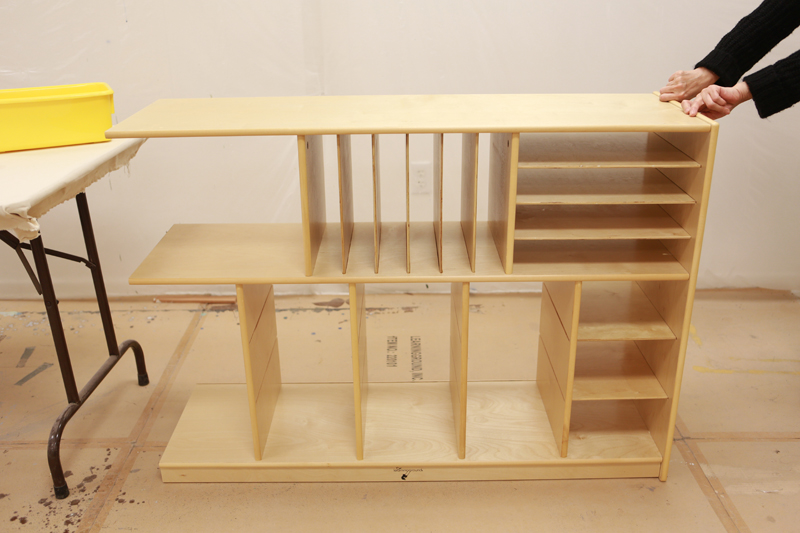
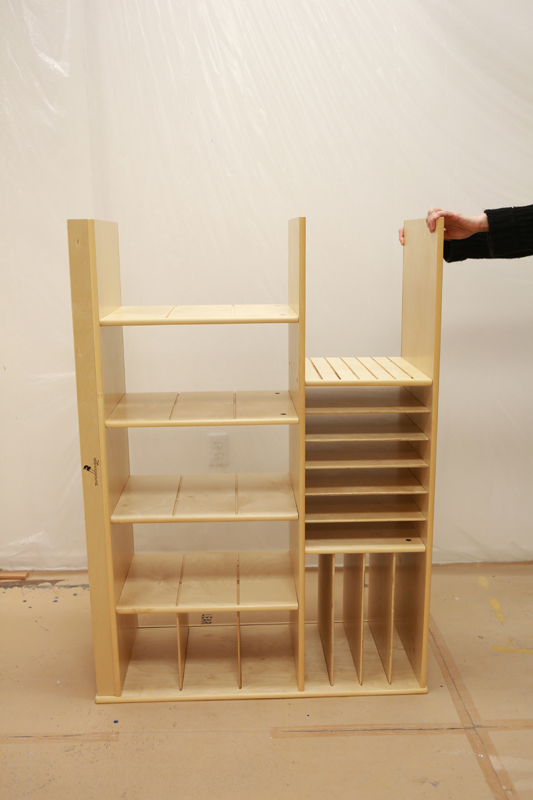
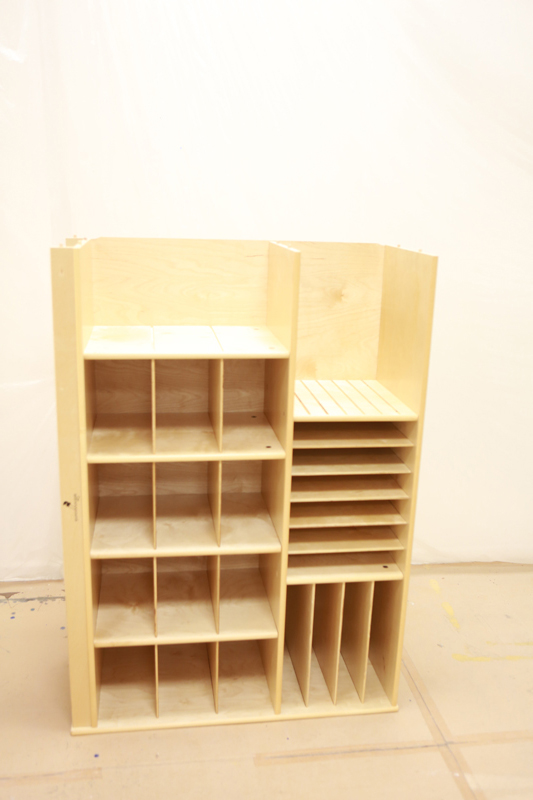
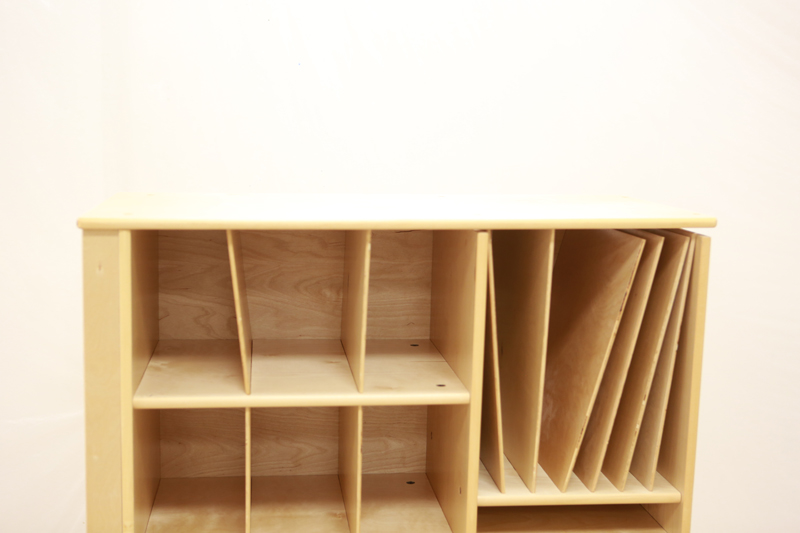
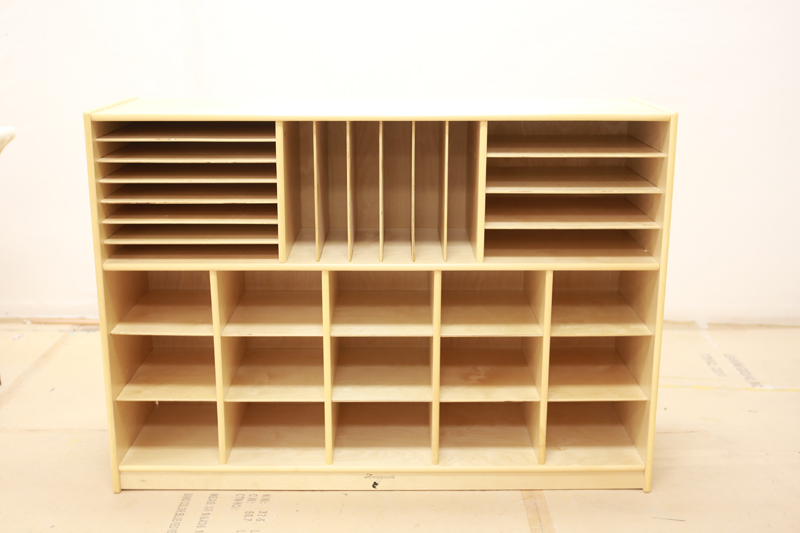 finished look |
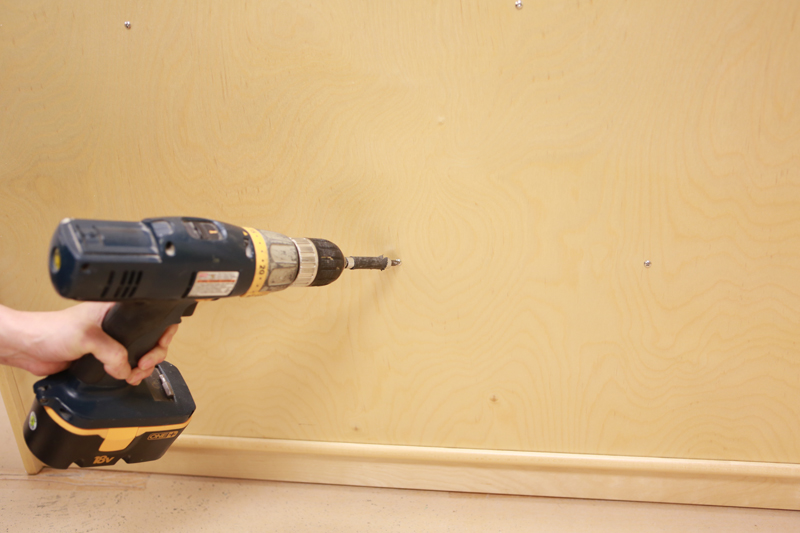 secure the backboard with small screws |
|
|
|