Installation Guide
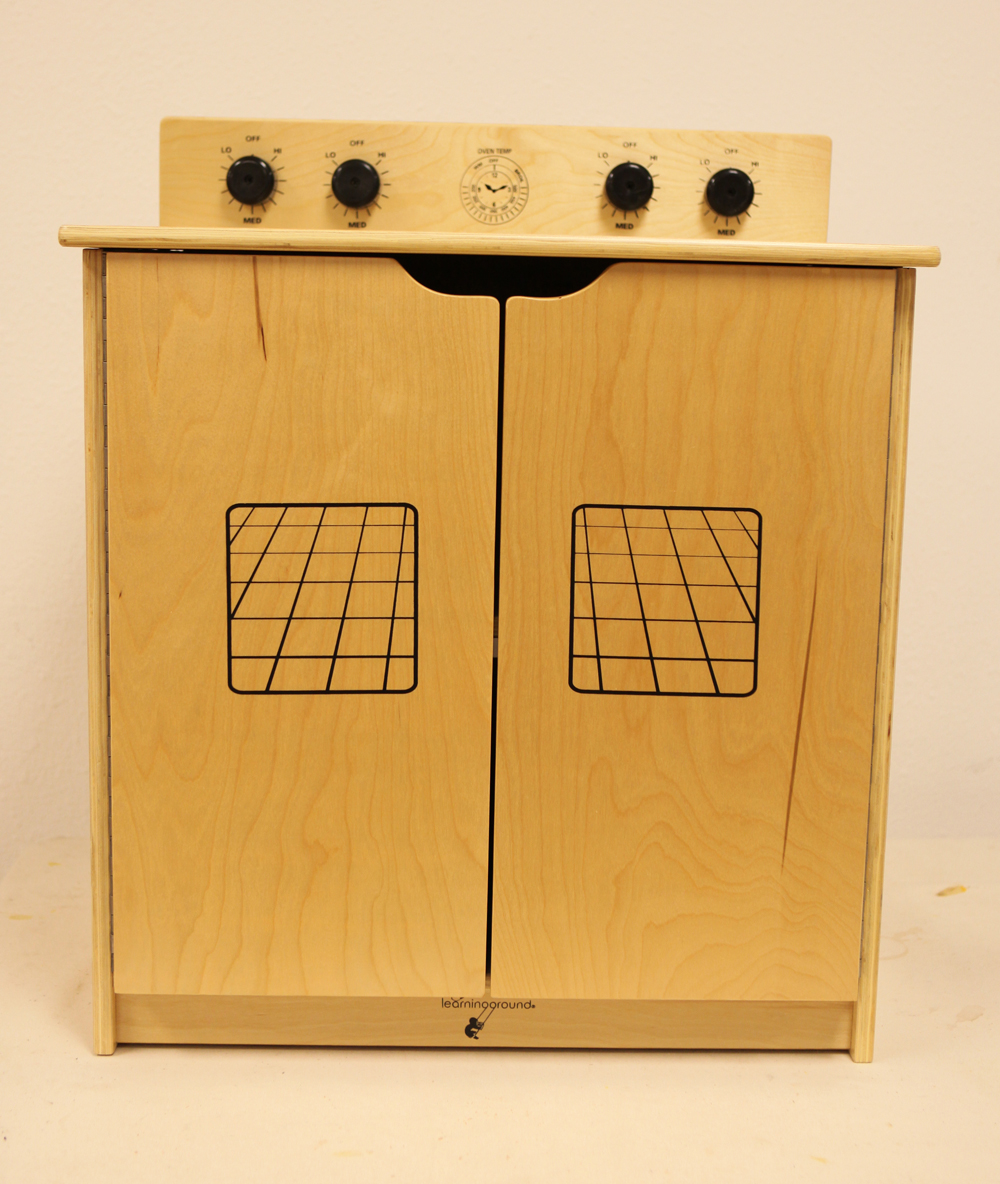
Stove (Kitchen Set), Item#: 10073 (click to see large pictures)
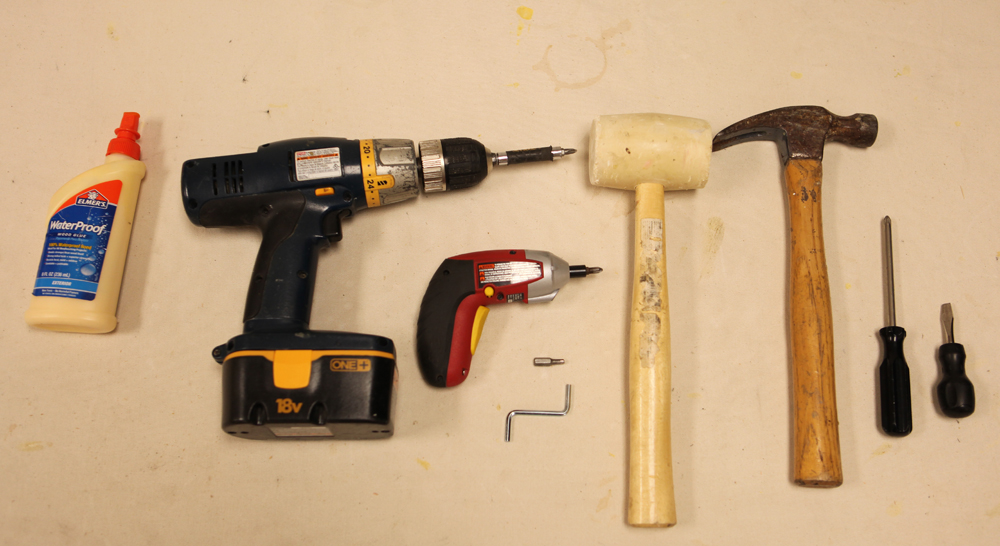 tools recommended |

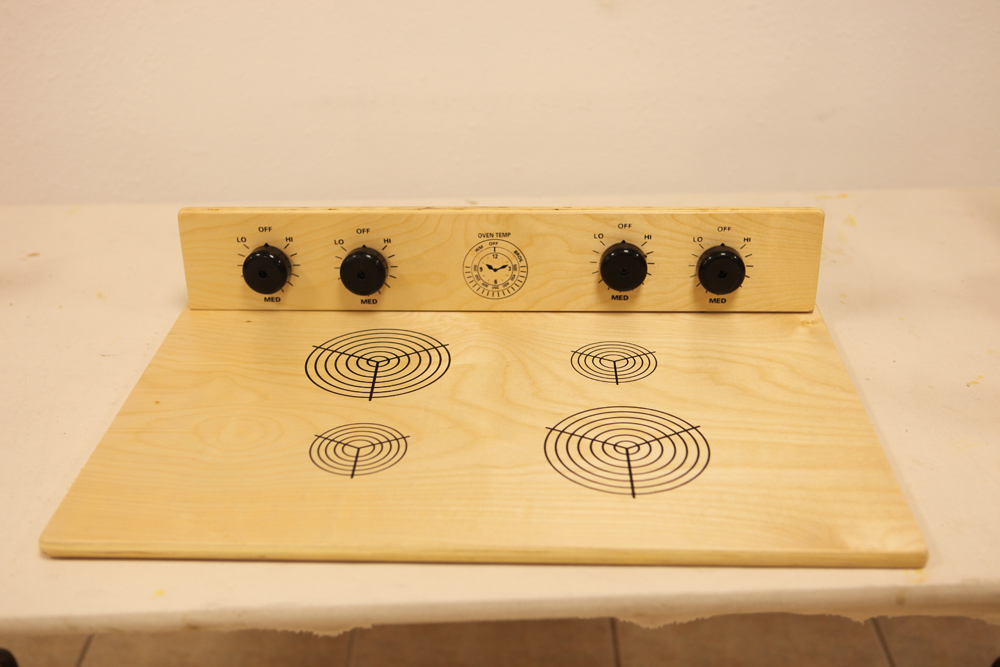
install the knobs in the center of the black circles. Make sure do not screw the screws too tight, to let the knobs turn around. |
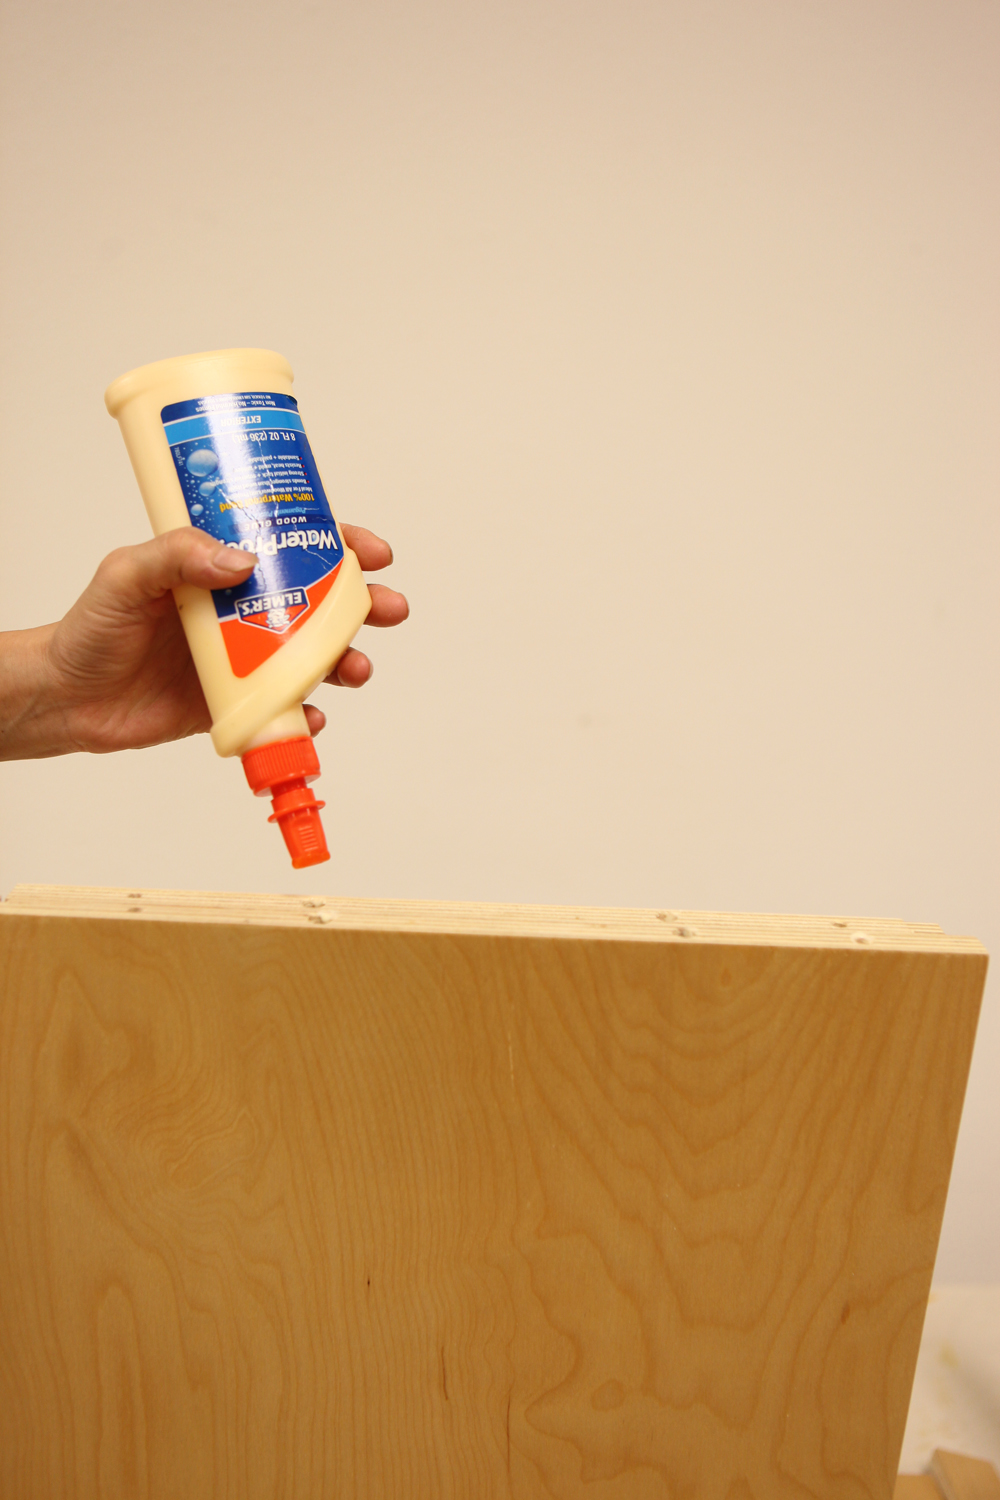
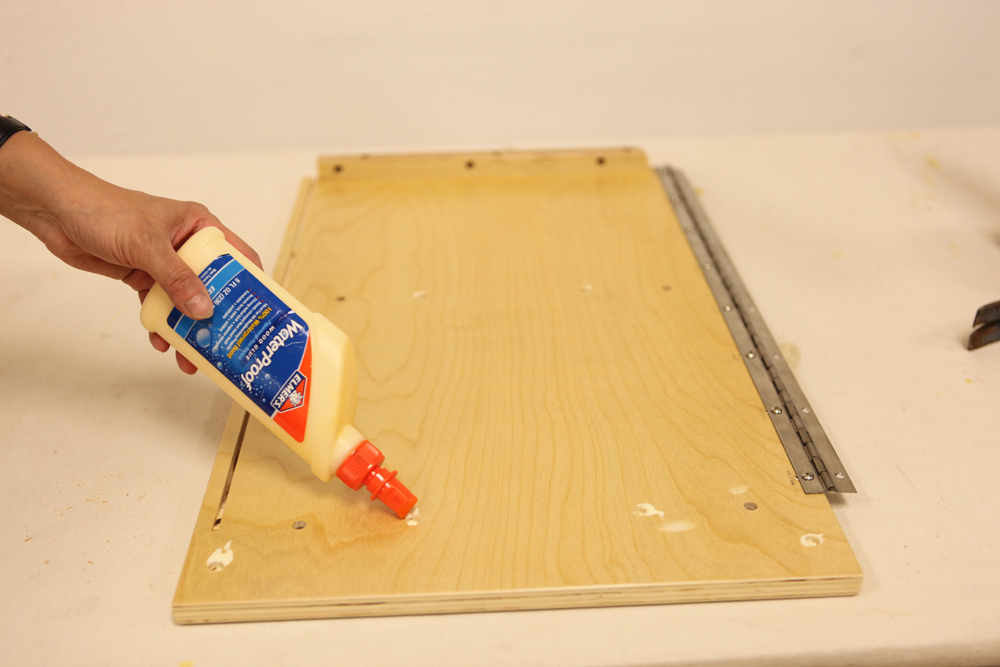
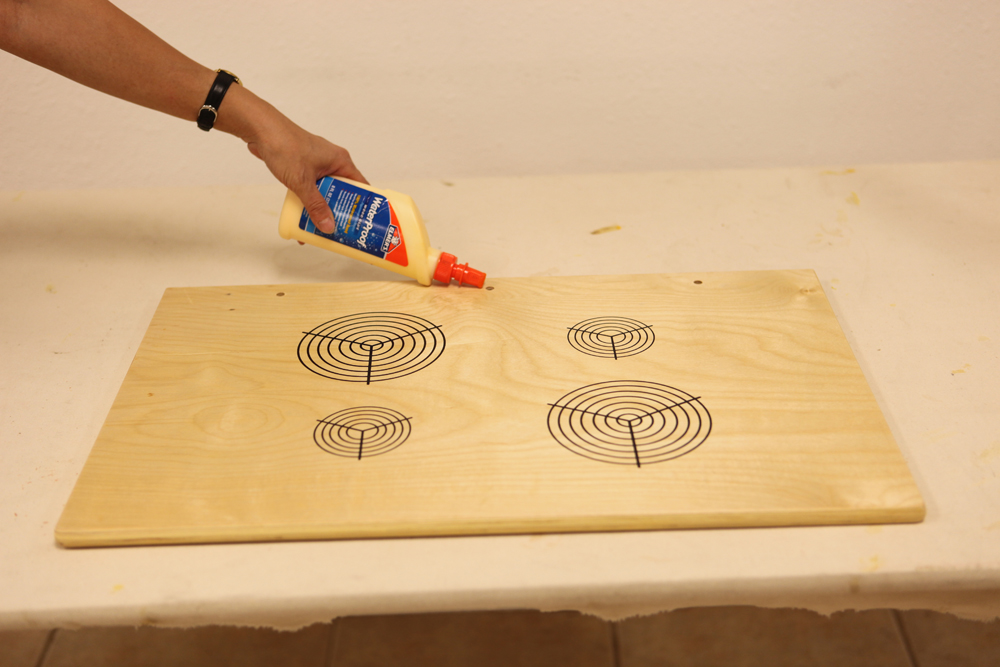 put the glue in the holes for the wood dowels |
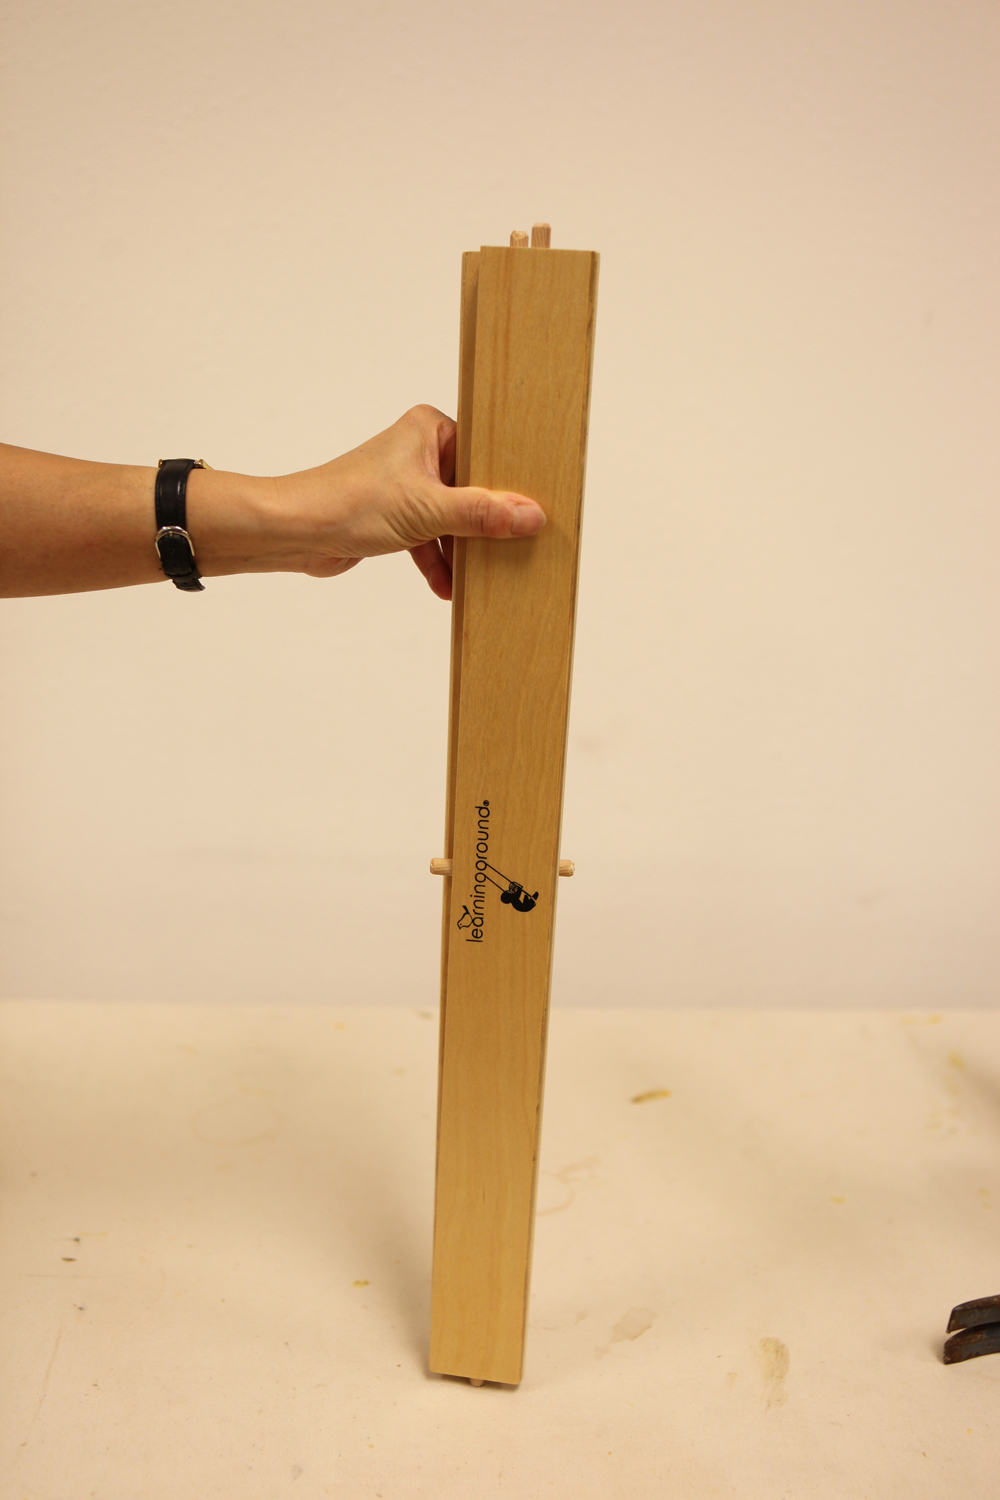
 push in the wood dowels by hand |
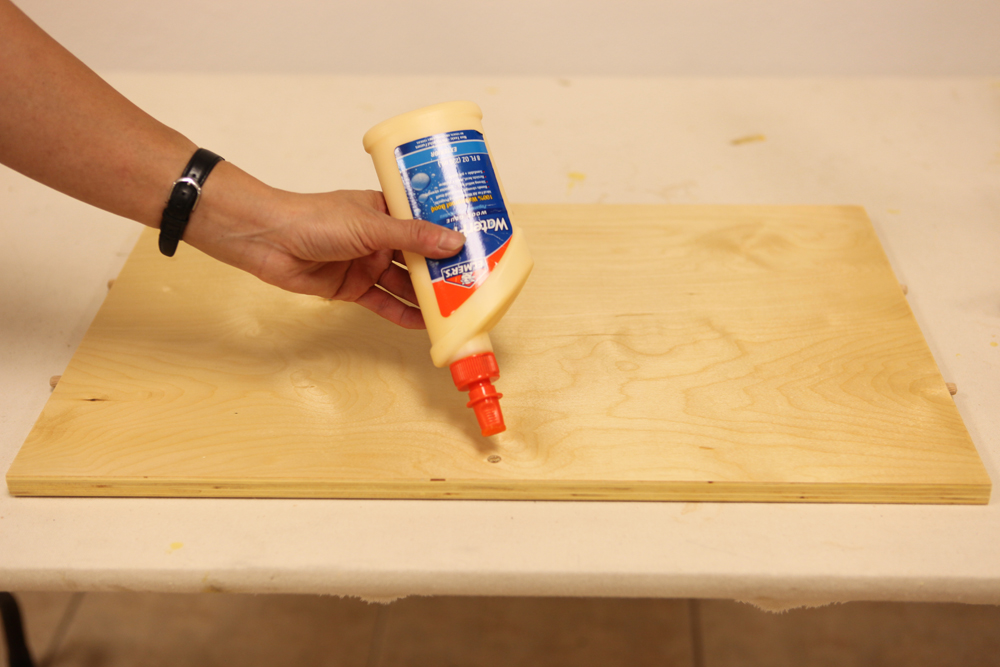
 put glue in holes for wood dowels and push them together |
 use the 2" screws to secure the boards from the back side |
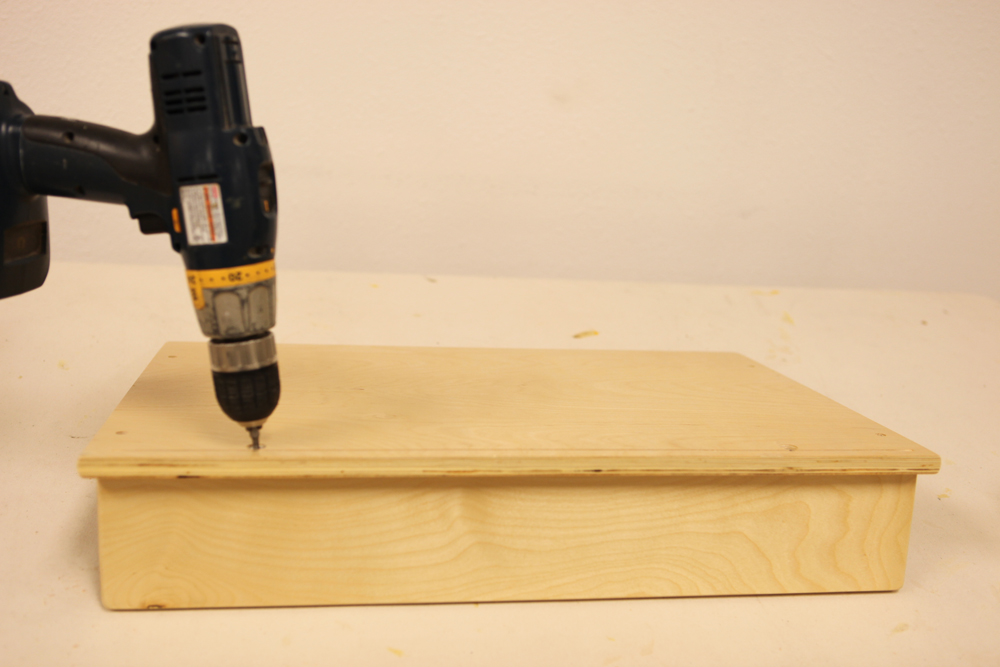 you may use hand drill or wrench for this |
 put glue in the holes at the ends of the two shelf boards |
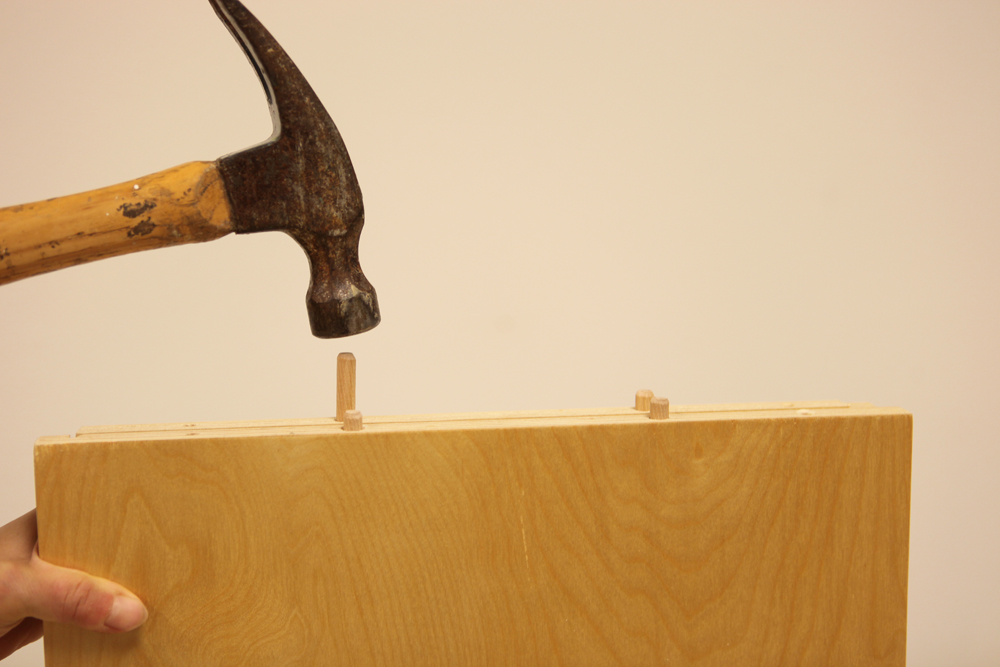
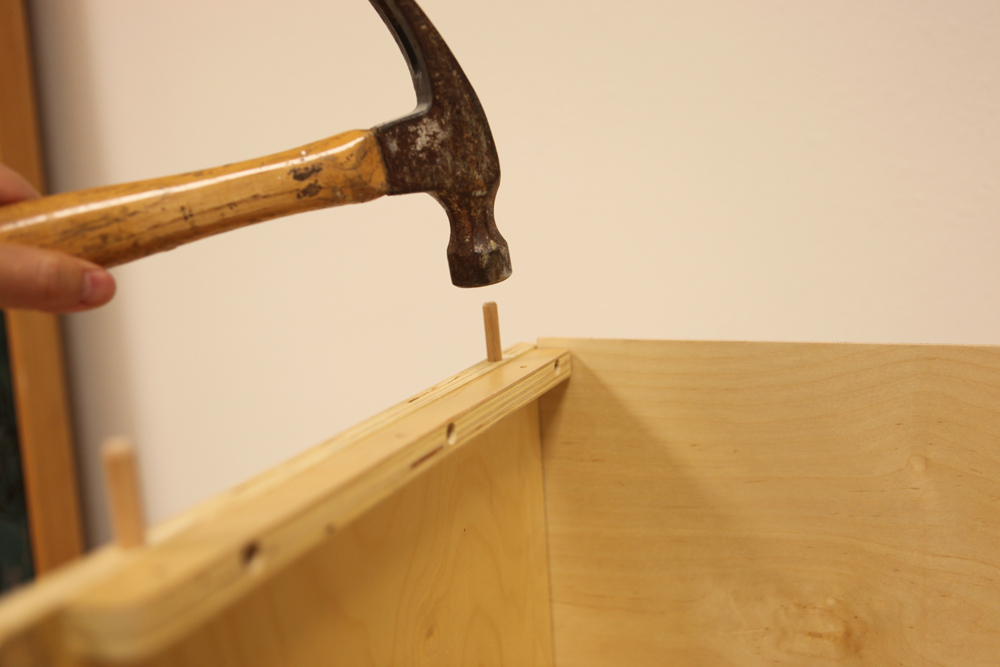
Hammer the wood dowels in the holes
Warning: Make sure to hammer the wood dowels all the way into the boards, (leaving about 3/8” out), to avoid damaging other boards.
Learningground is not liable if the installer misses this step.
|
 choose the board that has two holes on each side, and put glue in the two holes |
 glue and put wood dowels on the two toe-kick boards |
 hand push the toe-kick boards into the board |
 make sure the toe-kick without logo on the side of the slot |
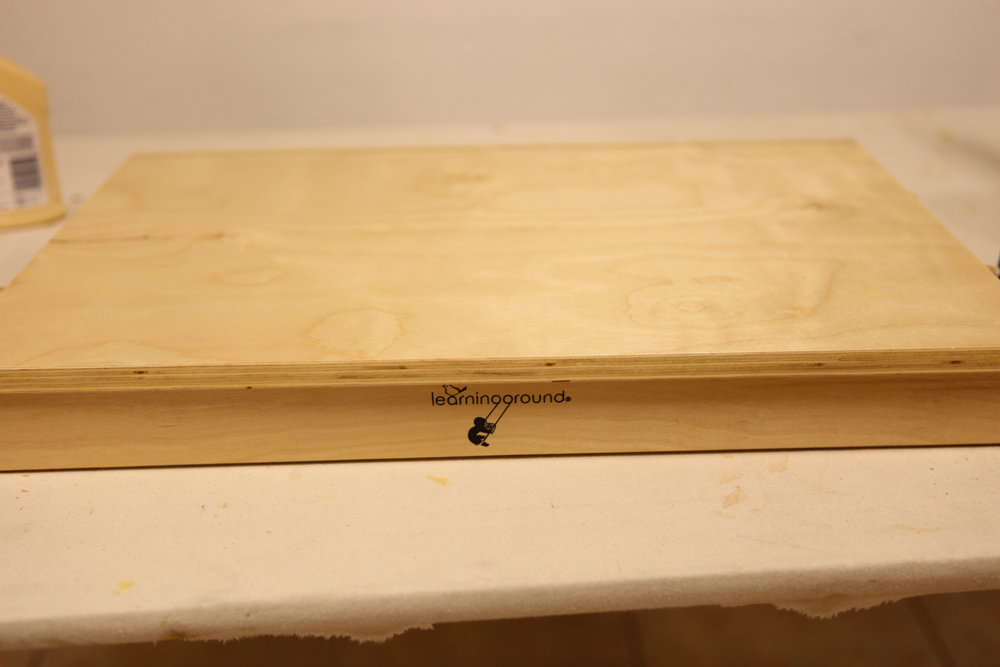 make sure the toe-kick with logo on the side that does not face the slot |
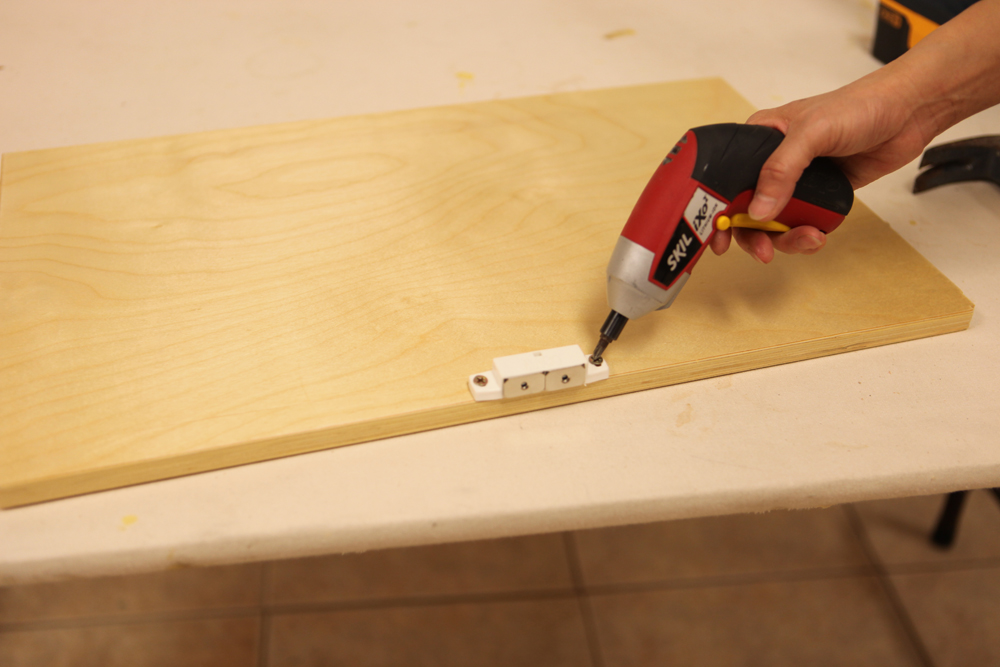 install the magnet with the 3/4" screws on the other board |
 put the glue in one of the side boards (with hinges) Warning: never hammer wood dowels directly on side boards, to avoid damaging the board from other side. |
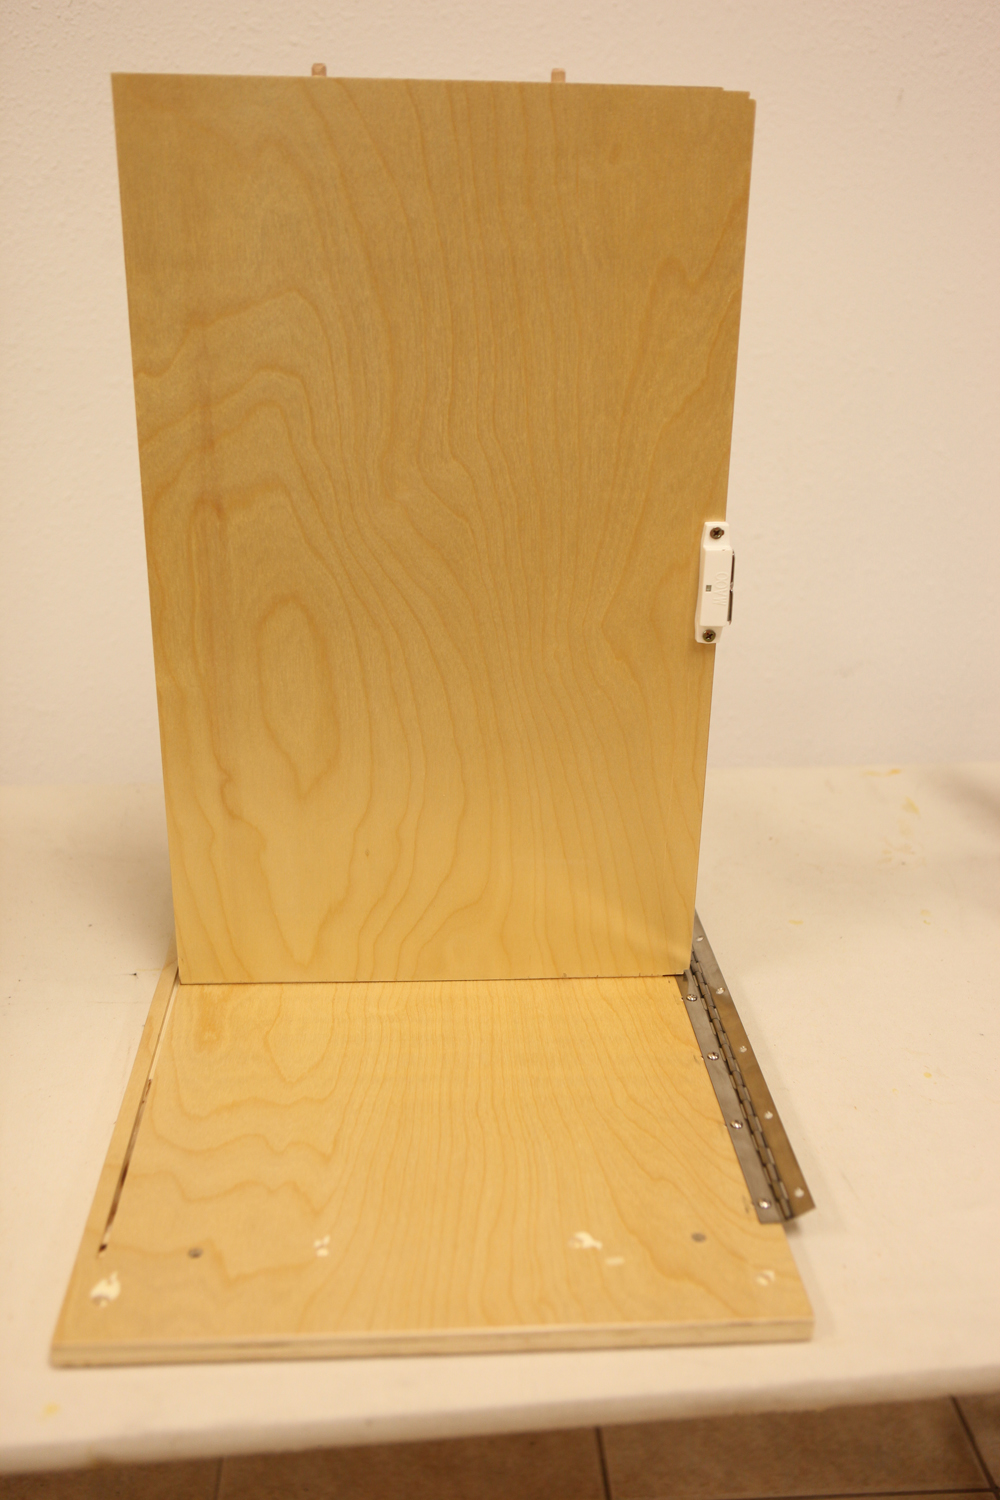 place the shelf board with magnet on the side board |
 make sure the rough side is towards the slot |
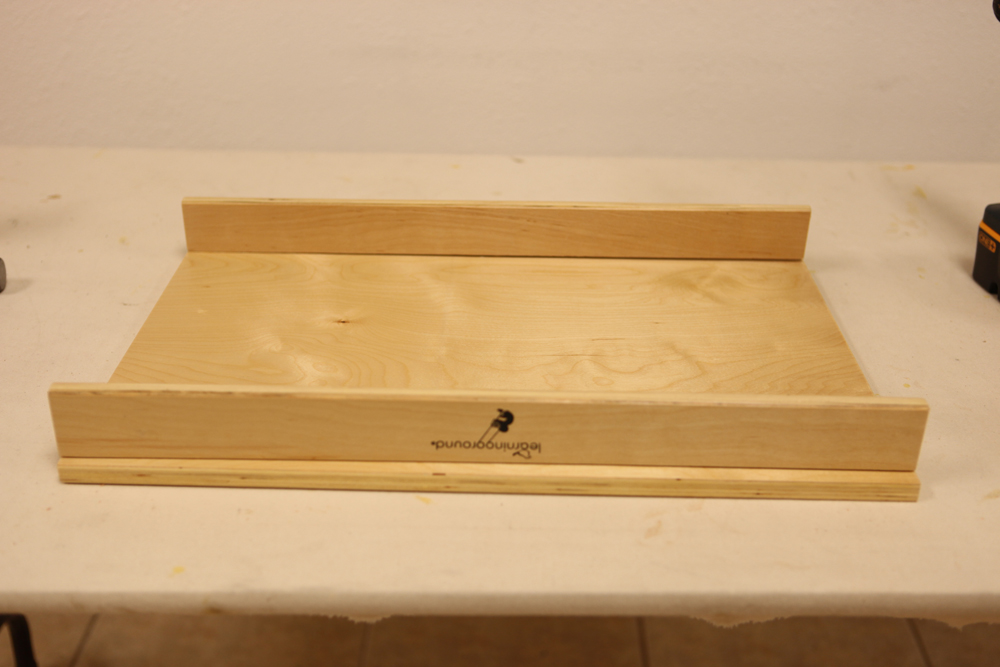
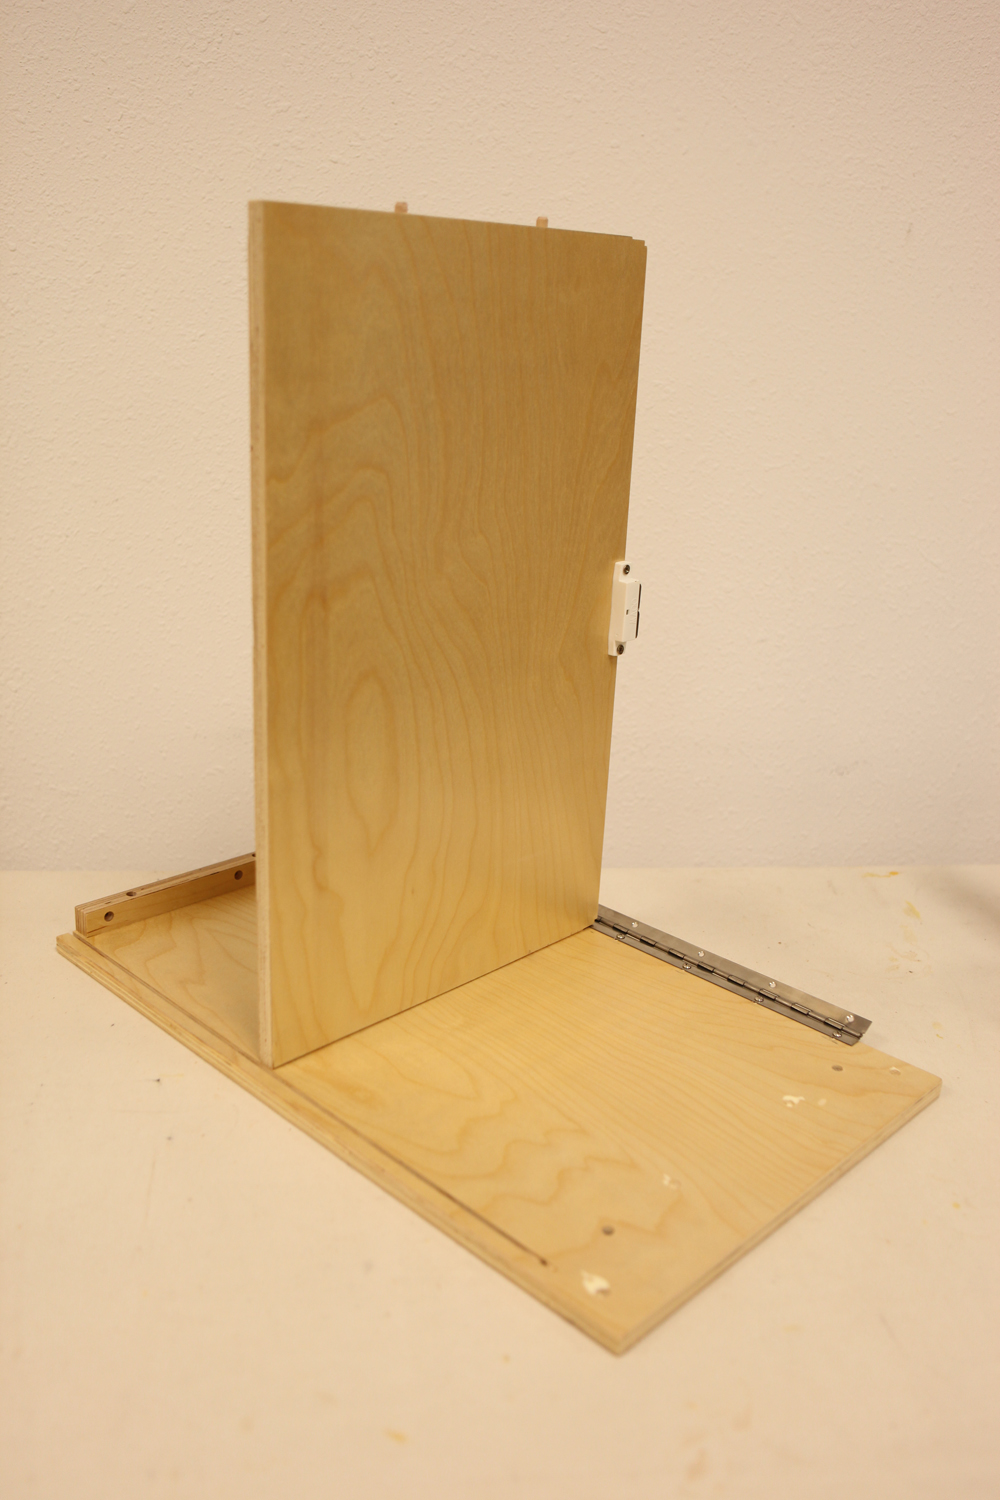
 place the Bottom shelf board with toe-kicks on the side board |
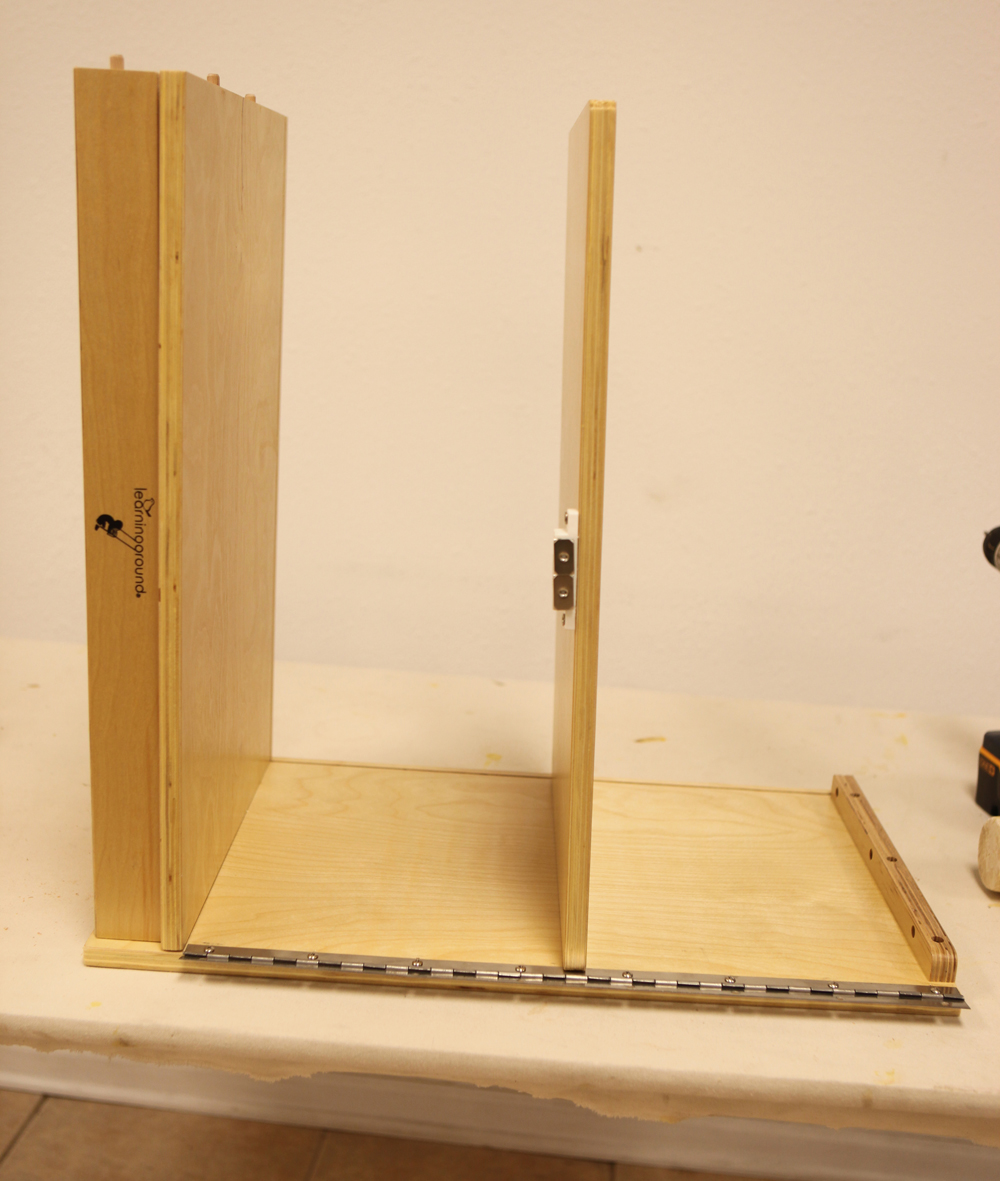 make sure the logo side faces the hinge side |
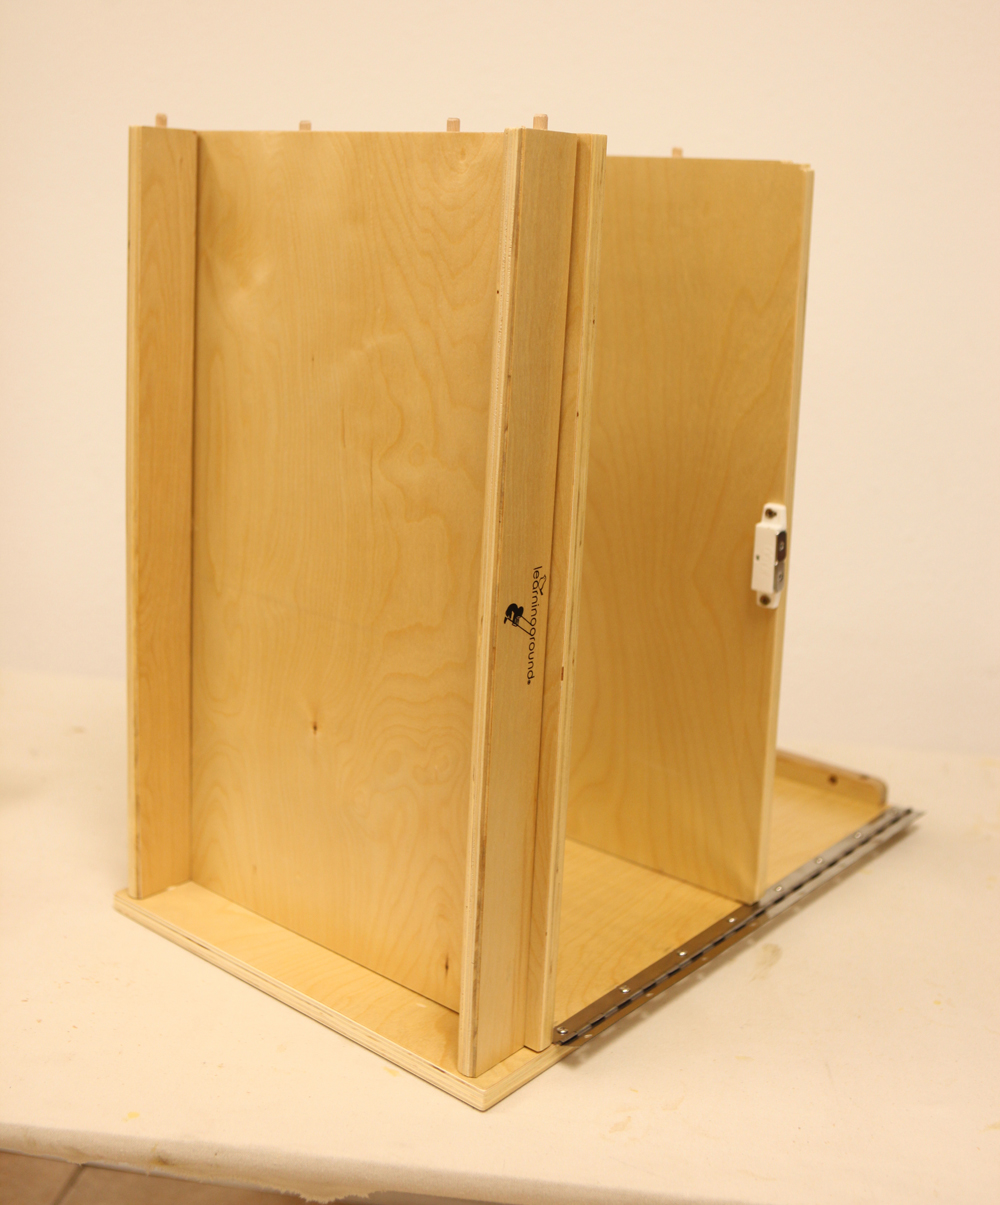
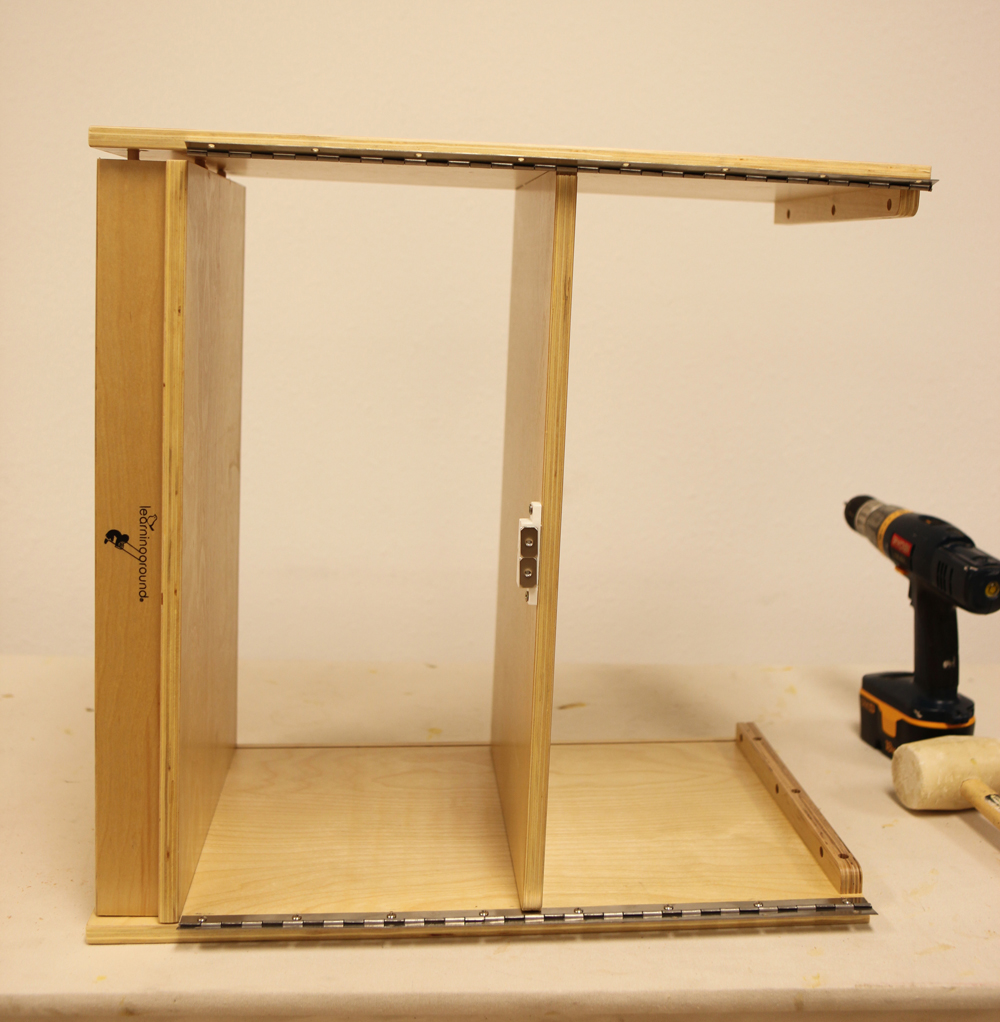 put other side board on top. don't forget to use glue |
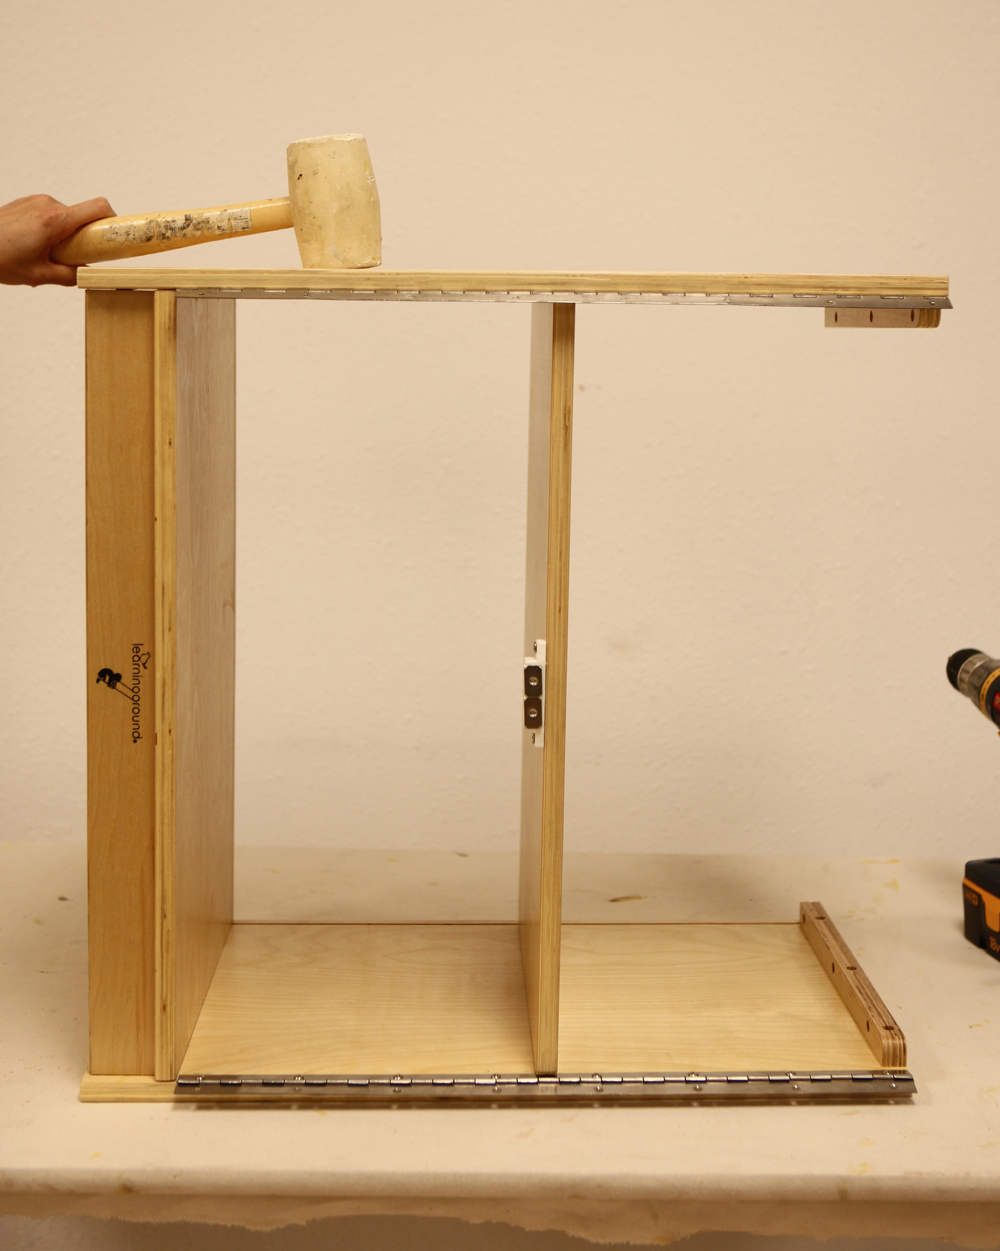 hand push in or use mullet |
 secure the board with 2" screws |
 flip the furniture to the other side and secure it with 2" screws |

|
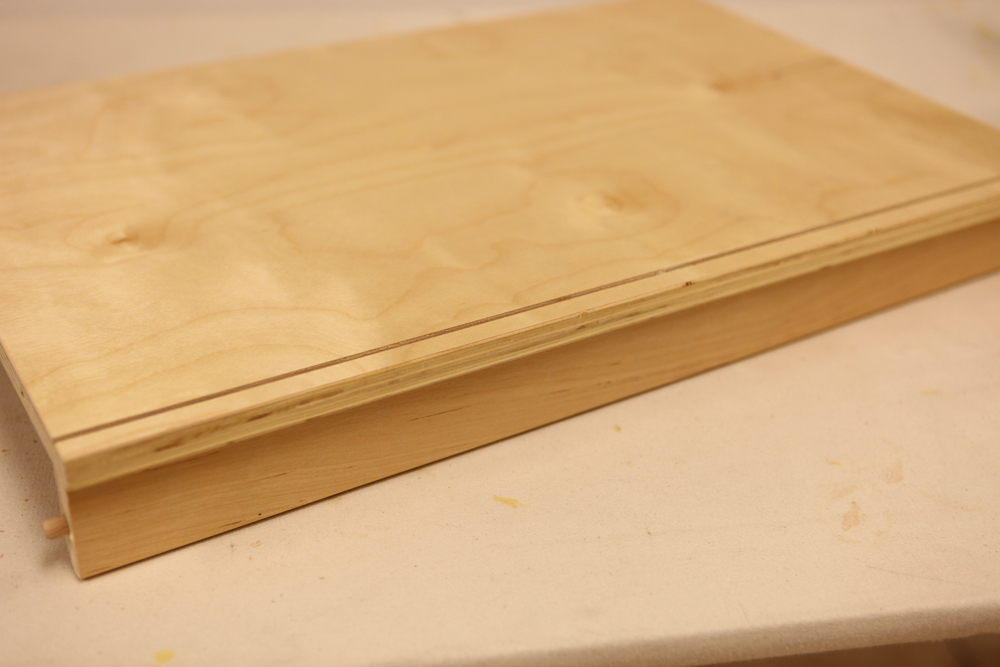
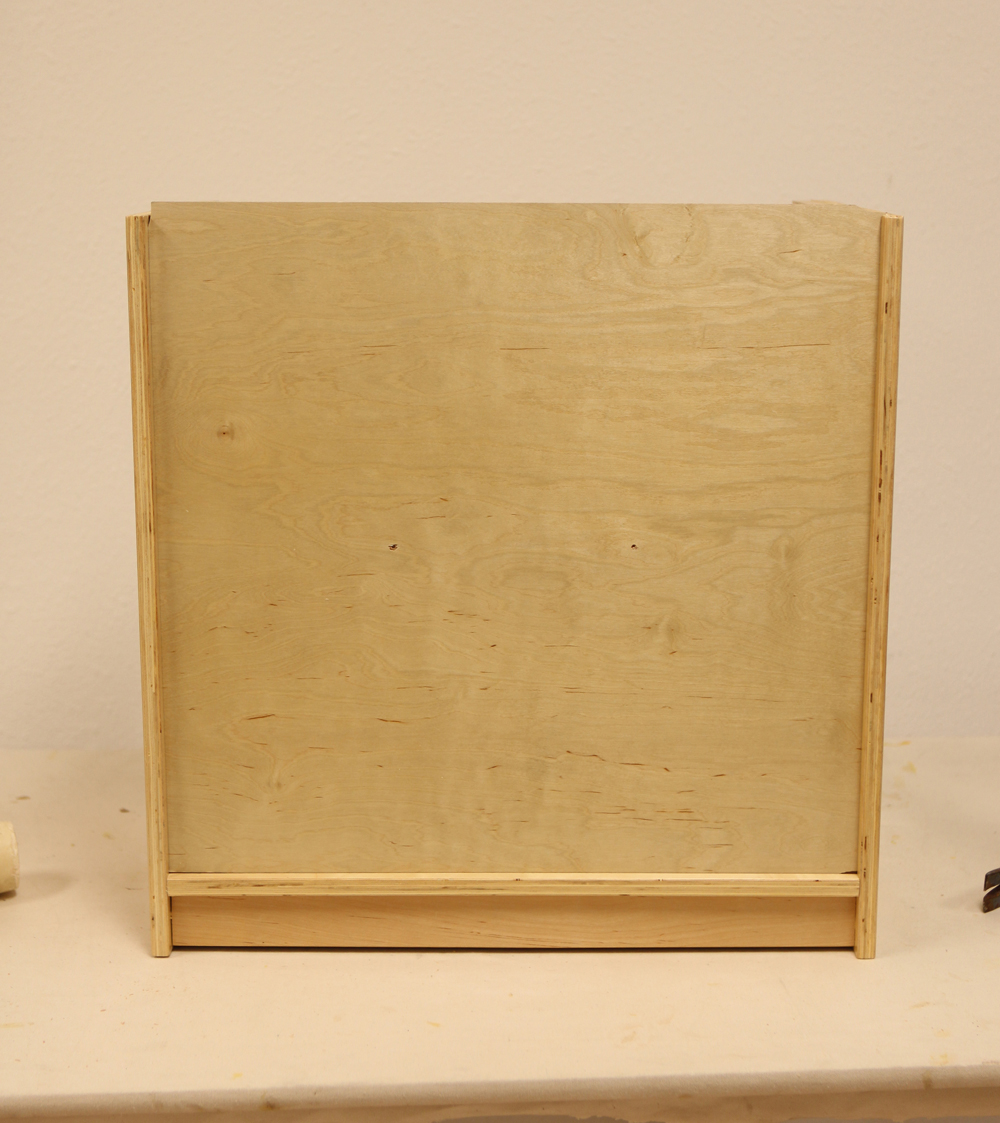
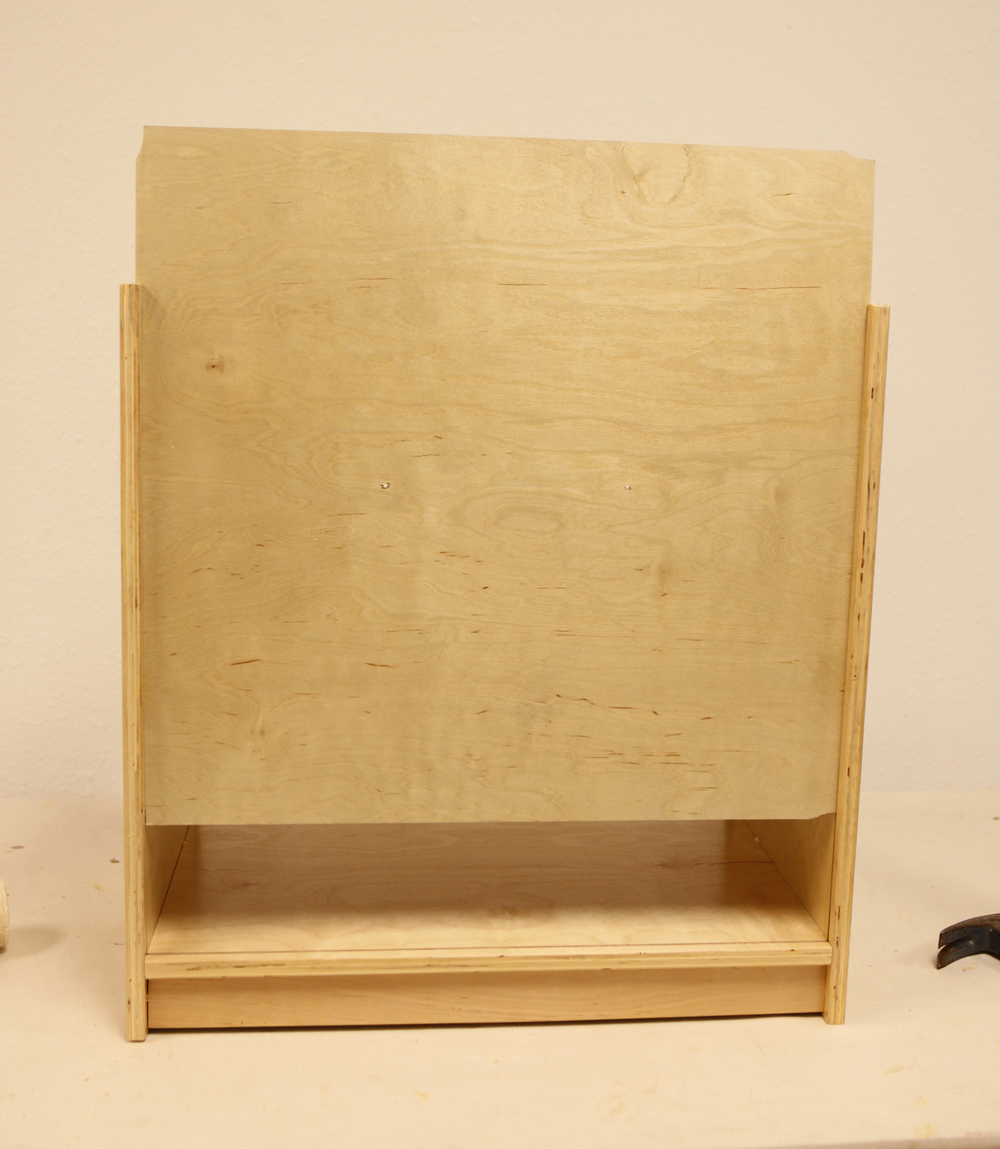 slide the back board in |
|
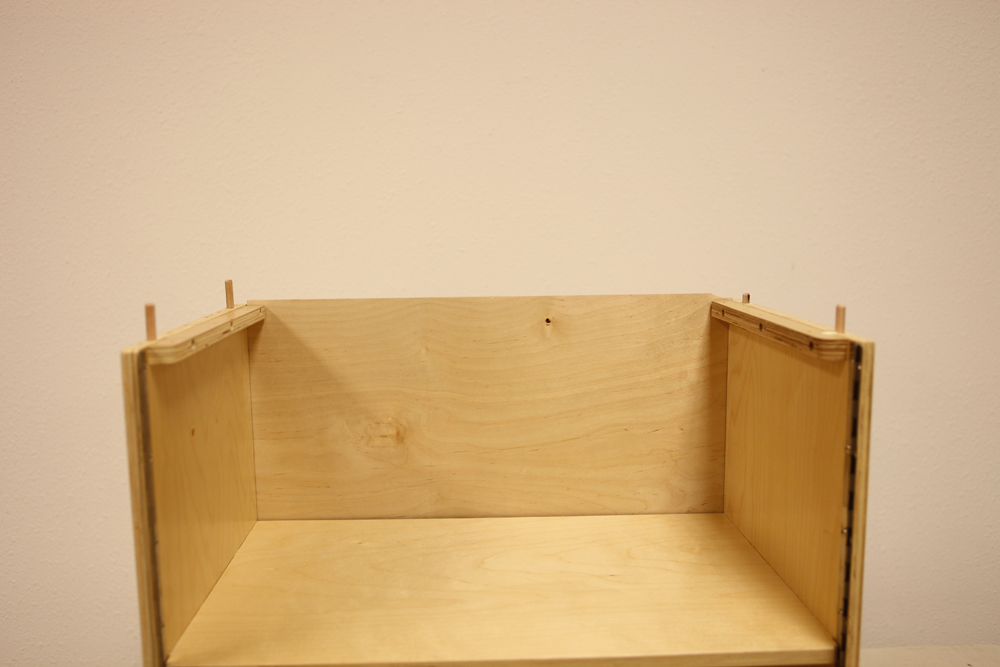 glue and put the wood dowels at the top end of the side boards |
 hammer them in all the way and leave about 4/1" put |
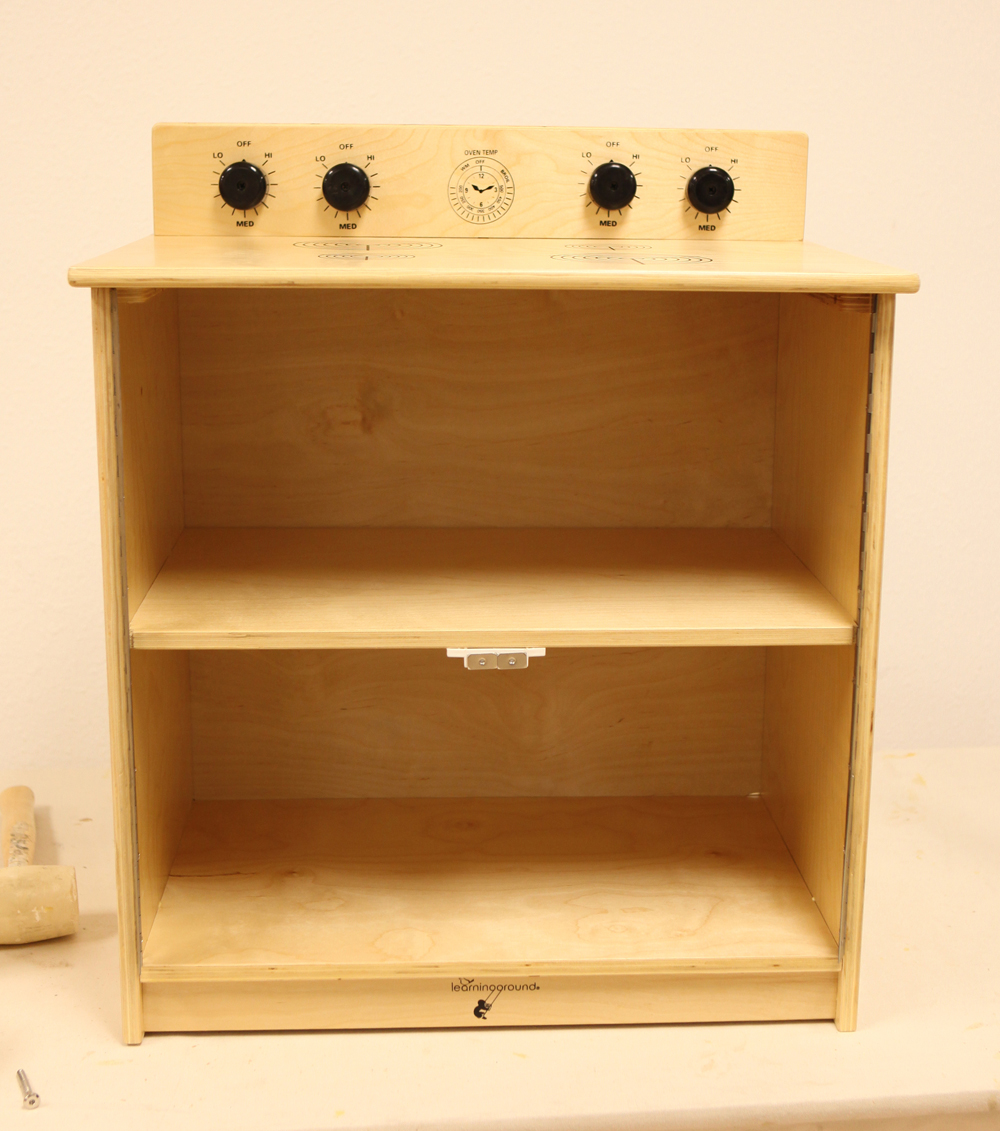 install the top stove board |
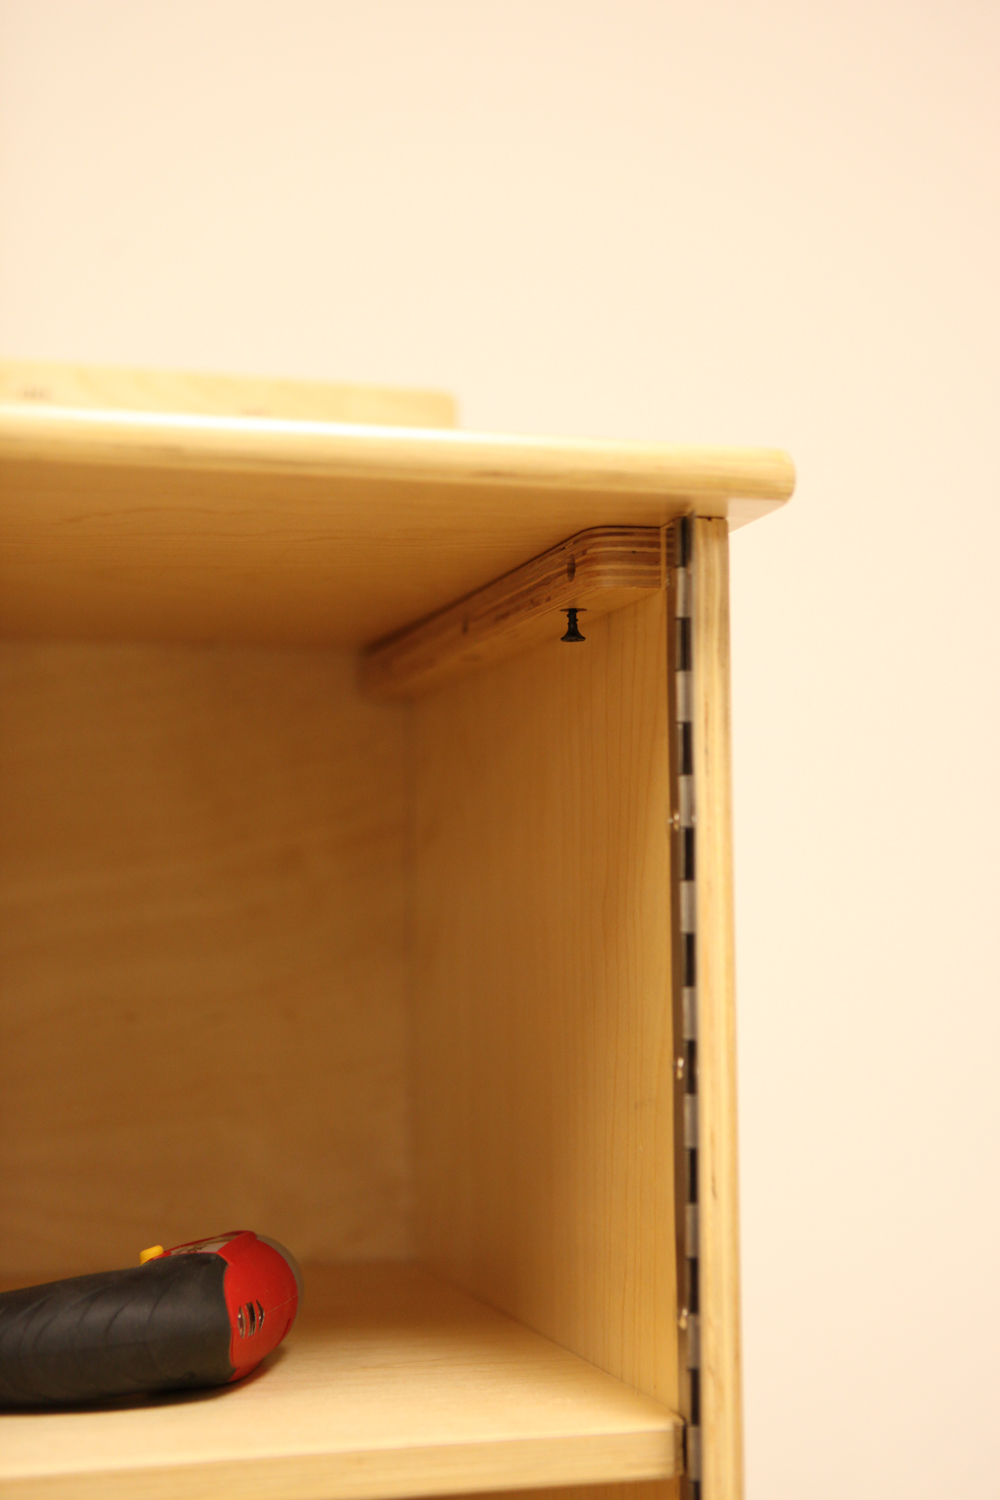 secure it with black sues under the board |
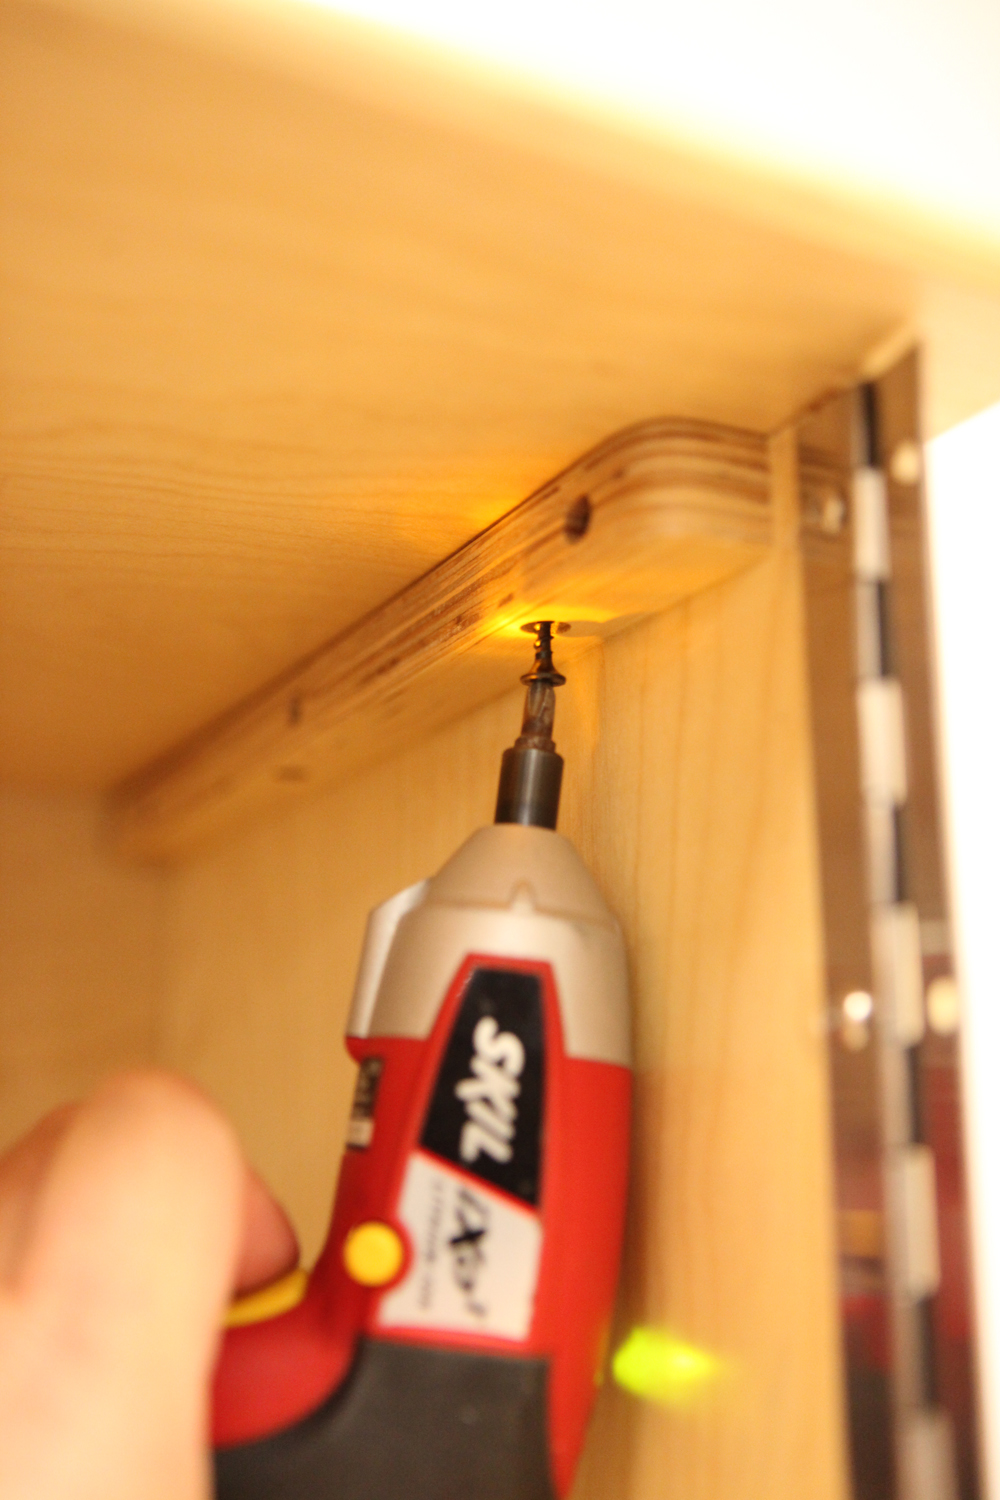 fasten the screws with a small screw driver |
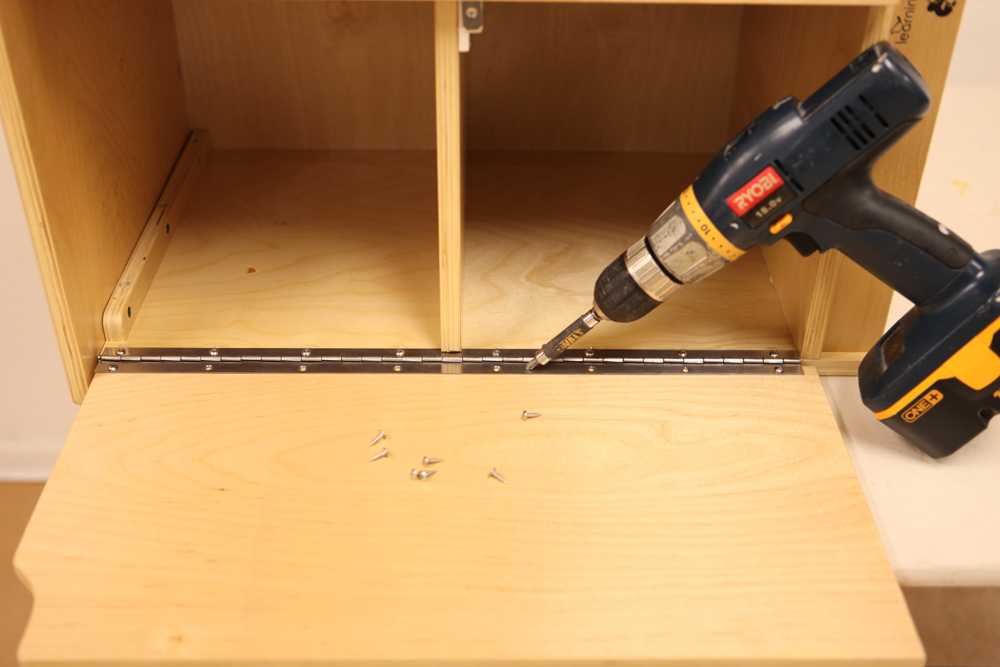
 lay the furniture on the side, over the edge of a table |
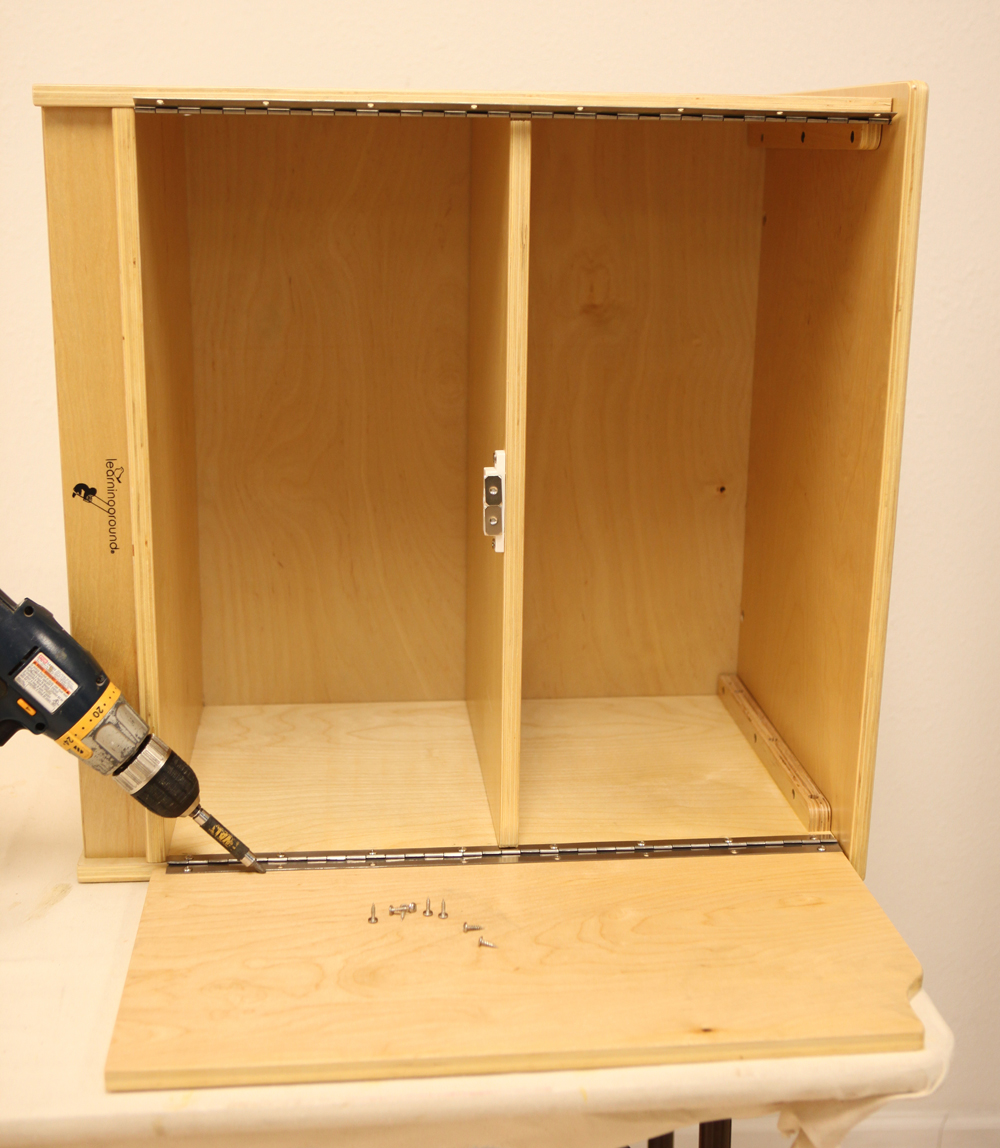 lineup the door with the hinge and crew all the small screws in. |
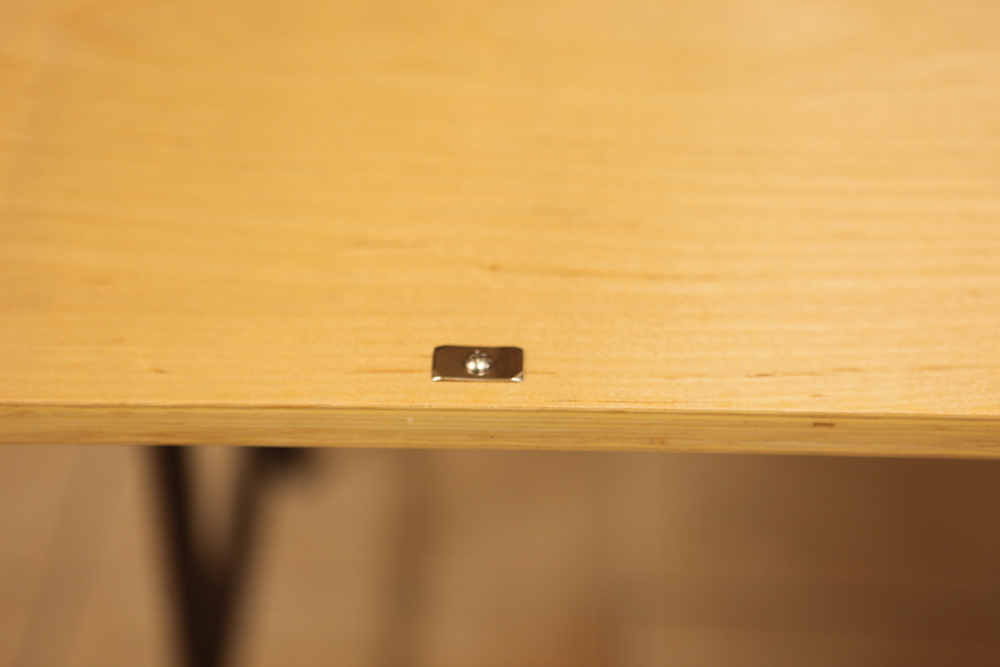
 take one of the metal plats from the magnet |
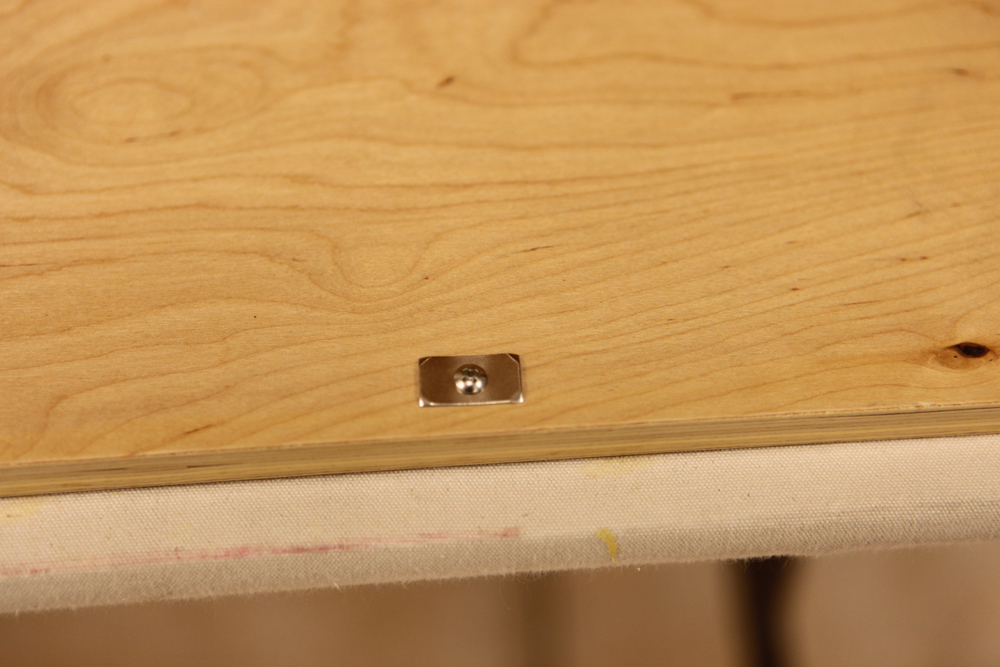
fasten the metal plat for magnet with a small screw close to the edge of the door (inside) |
 test the door to make sure it lineup perfectly with the magnet. make some adjustments if needed. |
 turn the furniture the other way |
 install the other door with small screws |
 fasten the metal plat with a small screw close to the edge of the door (inside) |
 adjust the doors to make sure it fits perfectly |

Secure the backboard with small screws |
|
|